The File Input Control
We can use an HTML form with a <input type="file"> control to select one or more files from our local computer for uploading. Once selected, these files will be uploaded to the remote server when we submit the form. The form should have a post method and a special encoding type set to value of multipart/form-data. The general syntax is:
<form action="some-page" method="post" enctype="multipart/form-data">
    <input type="file" other_attributes>
    <!-- Other form controls -->
</form>
When uploading files, the form's default encoding cannot be used for transferring binary data, so we must override it. For file uploads, we set the form's encoding type to the value of "multipart/form-data" using the enctype attribute:
<form action="some-page" method="post" enctype="multipart/form-data">
    <input type="file" other_attributes>
    <!-- Other form controls -->
</form>
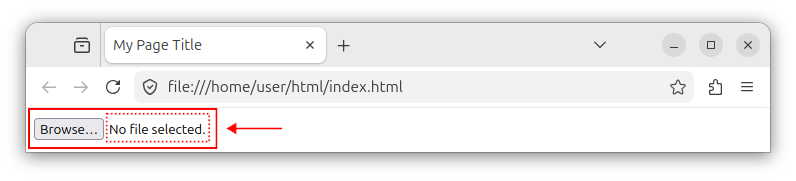
When rendered in a browser, the <input type="file"> control appears as a button with Browse... text, as in the following image:
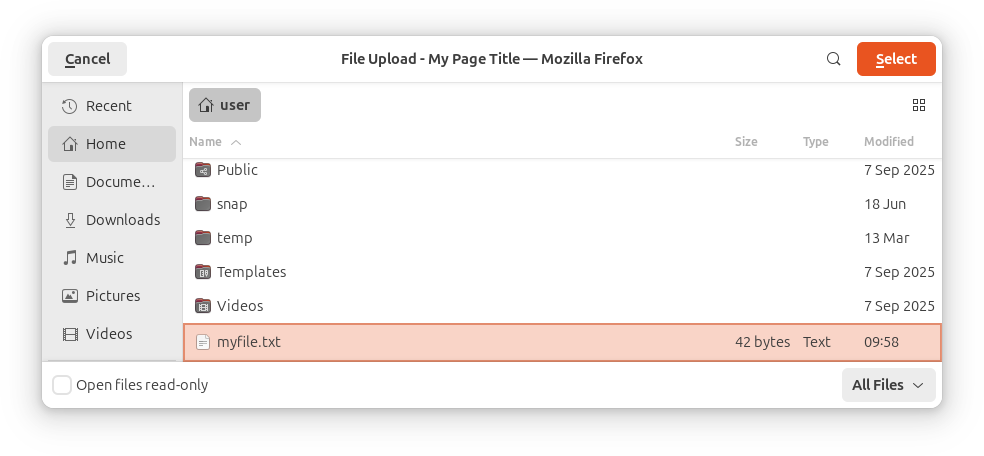
When we click on the button, a file dialog shows up, allowing us to select the file to be uploaded:
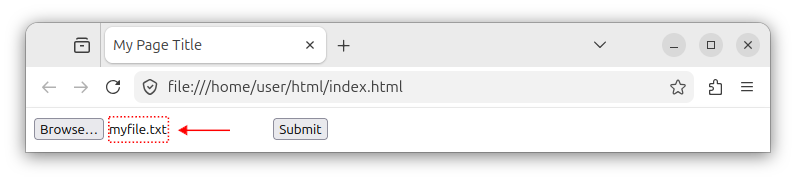
Once we select the file to be uploaded, the name of the selected file will appear next to the Browse... button:
Name and id attributes
The file input control should always have the name attribute. This attribute's value is submitted when we submit the form. Example:
<form action="some-page" method="post" enctype="multipart/form-data">
    <input type="file" name="my-file-control">
    <button>Submit</button>
</form>
When we submit this form, the following data will be sent:
- The name of the file input control.
- The content of the file (binary data).
- The file's name.
The file input control should also have an id attribute, which allows us to do several things:
- Assign a label to a file control.
- Manipulate the file input control in JavaScript.
- Apply CSS styling using the CSS id selector.
Assigning a label to a file control
To assign a label (a caption) to our file input control, we write:
<form action="some-page" method="post" enctype="multipart/form-data">
    <label for="my-file-control-id">Choose a file:</label>
    <input type="file" name="my-file-control" id="my-file-control-id">
    <button>Submit</button>
</form>
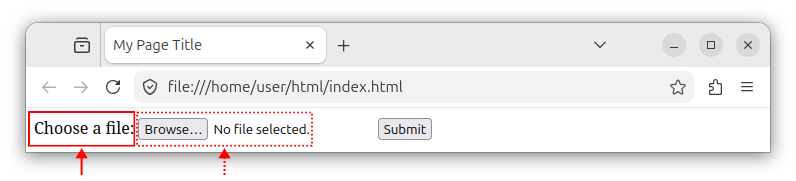
When rendered in a browser, the label text (caption for the control) appears before the input file control as in the following image:
The accept attribute
The accept attribute specifies which file types can be uploaded using our file input control. To accept only files with a .jpg extension, we write:
<input type="file" name="my-file-control" id="my-file-control-id" accept=".jpg">
Note: Using this code, when opening the file dialog, you will notice that the dialog shows only the .jpg option in the Supported Types dropdown.
To accept files with .jpg, .png, and .gif extensions, we use a comma separated list of extensions in our accept attribute:
<input type="file" name="my-file-control" id="my-file-control-id" accept=".jpg, .png, .gif">
If we want our file input control to accept only Word and PDF files, we provide a comma-separated list with the following file extensions:
<input type="file" name="my-file-control" id="my-file-control-id" accept=".doc, .docx, .pdf">
The accept attribute can also have other file specifier formats such as:
audio/*- means that the file control can accept any audio format.video/*- means that the file input control can accept any video format.image/*- means that the file input control can accept any image format.
We can also combine these file specifier formats with regular file extensions. The following file input control can accept any image format plus the .zip format:
<input type="file" name="my-file-control" id="my-file-control-id" accept="image/*, .zip">
Note: Even with the accept attribute present, users can still override the file type in the file open dialog, which is why all uploads should also be validated on the server side.
The multiple attribute
To allow our file input control to accept multiple files, we add the multiple attribute to its declaration. Example:
<input type="file" name="my-file-control" id="my-file-control-id" multiple>
This attribute allows us to select multiple files in our file dialog (by holding the Ctrl key) and when we submit the form, all the selected files will be uploaded.
If we want to allow uploading multiple files with only certain extensions, we list those file formats in the accept attribute:
<input type="file" name="my-file-control" id="my-file-control-id" accept=".txt, .doc, .pdf" multiple>
A full HTML page example
The following source code is a full HTML page with a form that allows uploading a single file of *.jpg, *.png, or *.gif file types:
<!DOCTYPE html>
<html lang="en">
<head>
    <meta charset="UTF-8">
    <meta name="viewport" content="width=device-width, initial-scale=1.0">
    <title>My Page Title</title>
</head>
<body>
    <form action="some-page" method="post" enctype="multipart/form-data">
        <label for="my-file-control-id">Choose a file:</label>
        <input type="file" name="my-file-control" id="my-file-control-id" accept=".jpg, .png, .gif">

        <button>Submit</button>
    </form>
</body>
</html>
Explanation
This form allows the user to select a single file for uploading using the <input type="file"> control. The file control has the usual name and id attributes. The selected file must have one of the predefined extensions, specified inside the accept attribute. When we submit the form, the form will be handled by a page we named some-page. Replace some-page with your form processing page name.
Since the form is used for file uploading, it is of proper multipart/form-data encoding type, it has one <label> control, one file input control, and one Submit button.
Next steps
Since this tutorial is only focused on the HTML part of uploading a file, as your next step, you can explore the following topics:
- How file uploads are handled on the server side?
- How can they be manipulated in JavaScript?
The script on the server that processes our form will decide where to store the uploaded file. This script can be PHP, or some other script or a framework.
To manipulate the file input control and its content in JavaScript, you can explore a family of dedicated File API interfaces, such as File, FileList, FileReader and similar interfaces.


