Installing Laravel on Linux
This article explains how to install the Laravel installer on Linux. It also explains how to install prerequisites, the MySQL database, and the optional Node.js framework. Finally, we explain how to create our first Laravel application and start a simple local web server.
Installing the prerequisites and the Laravel installer
First, we will install the Curl tool, which allows us to execute the remote installation script. Open a terminal window and type:
sudo apt install curl
Install the PHP binary, Composer, and Laravel installer using curl and an official remote installation script:
/bin/bash -c "$(curl -fsSL https://php.new/install/linux/8.5)"
If the installation process was successful, you should see the following message in the shell console:
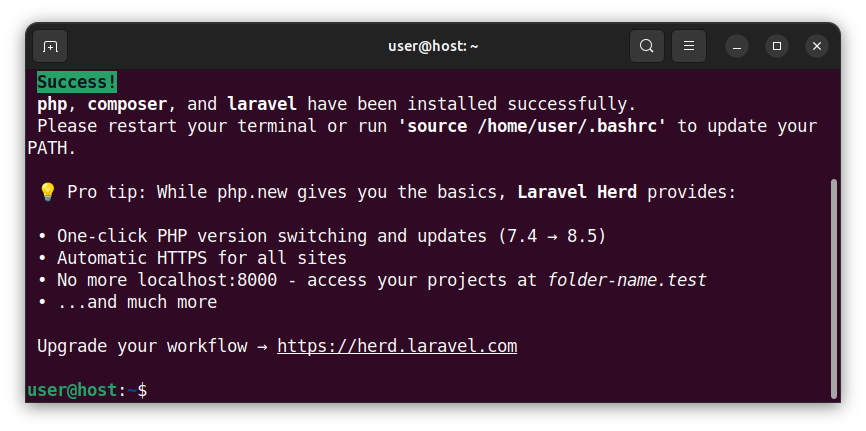
Restart your terminal window. This step is important, please do not skip it.
Alternatively, if you already have PHP and Composer on your machine, you can install the Laravel installer using the Composer dependency package manager tool:
composer global require laravel/installer
Creating a Laravel project
To create a new Laravel application (project), open the terminal and execute the laravel new command followed by the name of your Laravel application:
laravel new my-app
Note: You can replace the my-app name with any project name of your choice.
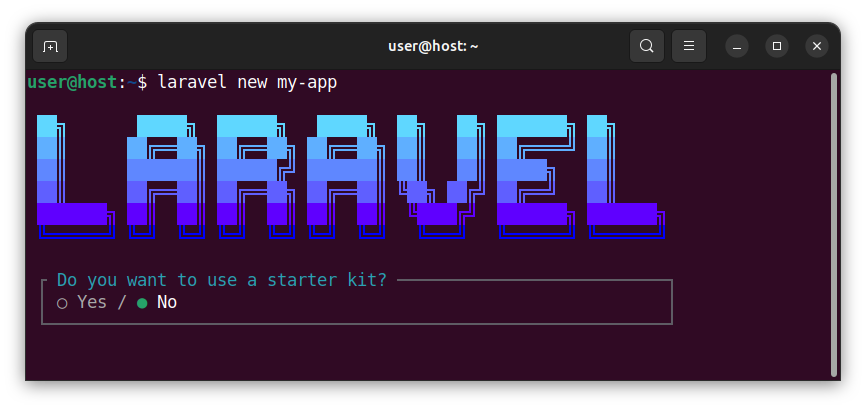
In the dialog that asks "Do you want to use a starter kit?" choose No and press Enter.
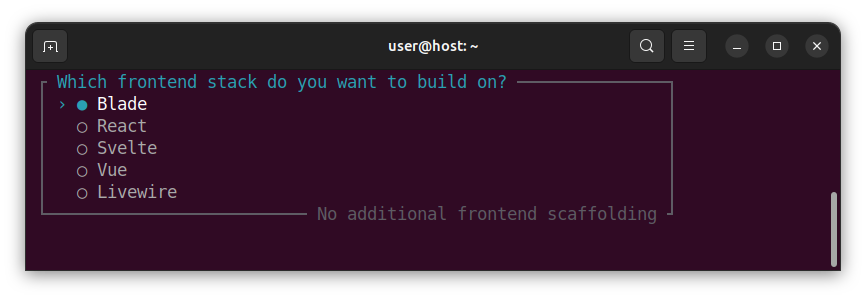
In the next dialog that asks "Which frontend stack do you want to build on?", choose Blade and press Enter. Blade is Laravel's default templating engine, and we will use Blade to create our HTML templates throughout this course.
The Laravel installer will now create the my-app/ folder and install the required Laravel-related packages and files into the my-app/ folder.
When the Laravel app creation process completes, you should see the following "Application ready" message:
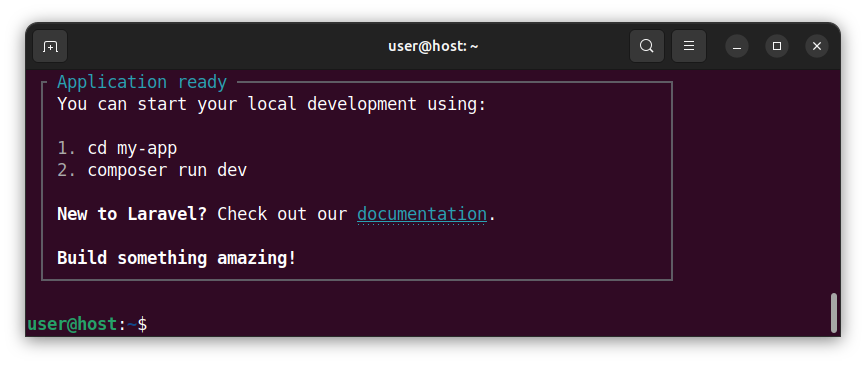
Navigate to the my-app/ folder:
cd my-app
And start a local development server using the following command:
php artisan serve
This command starts a local web server, usually accessible at the address of http://127.0.0.1:8000, or: http://localhost:8000.
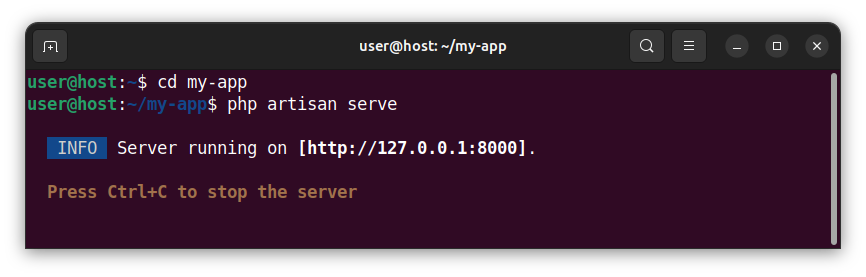
Please note that you should keep this terminal window open as long as you want your local server to run. To stop the server, press the Ctrl + C key combination.
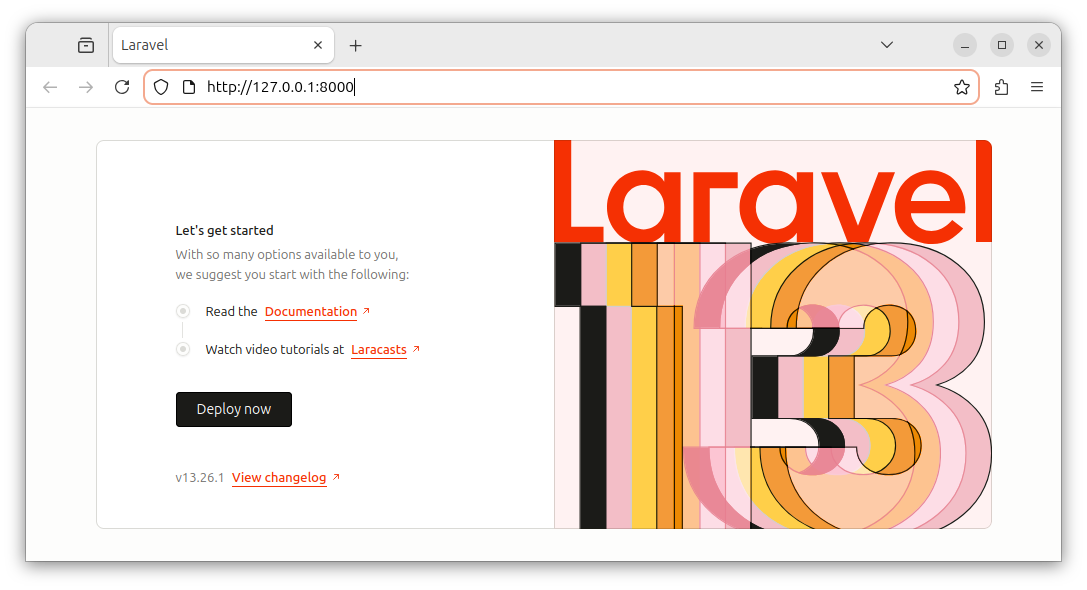
Open a web browser and enter http://127.0.0.1:8000 in the browser's address bar. You should see the default Laravel welcome page.
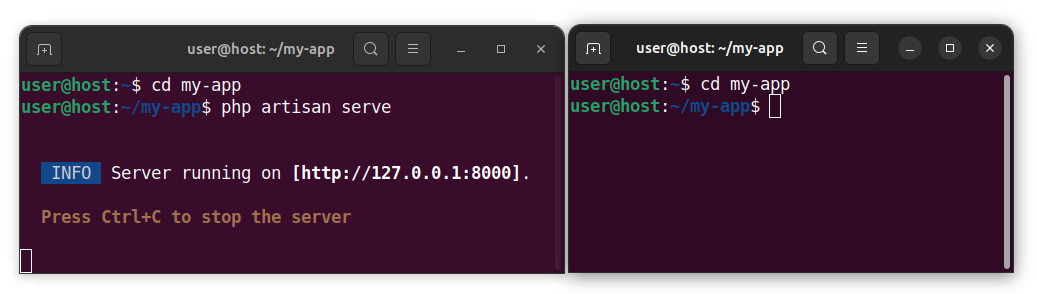
During development, it is a good idea to keep two terminal windows open. One for starting and stopping the local development server, and one for manipulating files inside your Laravel project folder:
Installing Node.js and MySQL Server
The following steps explain how to install the Node.js framework and the MySQL database engine on our local development machine. These steps are optional but highly recommended as you might decide to use Node.js to build frontend assets in the future, and the MySQL database is a popular choice with many web hosting companies.
Installing Node.js and accompanying tools
Installing Node.js for use in Laravel is not strictly required, but it is advisable when developing and compiling CSS and JS assets for a Laravel application.
Install the nvm (Node Version Manager) tool:
curl -o- https://raw.githubusercontent.com/nvm-sh/nvm/v0.40.3/install.sh | bash
Restart the terminal.
Install Node.js using the nvm tool:
nvm install 22
Here, we opted to install Node.js version 22. This command also installs the npm (Node Package Manager) tool.
Update npm to the latest version:
npm install -g npm@latest
Now that we have installed Node.js, we can navigate to our Laravel project folder:
cd my-app/
And start a local development server using Composer:
composer run dev
This command runs the dev script which launches a local development server at http://127.0.0.1:8000 and also starts the Vite server used for frontend asset compilation.
In summary, if you do not need to generate frontend assets for your Laravel application on the fly, a simple php artisan serve command will be sufficient. If you do need to compile frontend assets as well, use composer run dev to start a local server.
Installing MySQL server on Linux
Laravel supports multiple databases, such as SQLite, MySQL, MariaDB, PostgreSQL, and SQL Server. We will opt for MySQL as it is often used by web hosting providers.
To install the MySQL server on Linux, open a terminal and type:
sudo apt install mysql-server
Log in to the local MySQL server as the root user:
sudo mysql -u root
For simplicity reasons, on a local development machine, we can remove the password for the root user. Execute these two commands:
ALTER USER 'root'@'localhost' IDENTIFIED WITH mysql_native_password BY '';
FLUSH PRIVILEGES;
To exit the MySQL prompt, type the following and press Enter:
exit;
Now, we can connect to the local MySQL server without a password and without the need for the sudo command. In the terminal, we write:
mysql -u root
Let us create a MySQL database which can have the same name as our Laravel project - my-app:
create database my-app;
Exit MySQL:
exit;
Important: In production, there should be both a username and a strong password for your database. For simplicity reasons, on a local MySQL server, we have omitted the password for now.
In our next lesson, we will learn how to install Laravel on macOS.


