Laravel Migrations - Introduction
In Laravel, we can use migrations to create and drop database tables, define table fields, indexes and more.
The terminology
Database migration is a process of applying one or more changes to a database schema. A database schema describes the database structure. A schema defines all the database tables, table columns, indexes, relationships and more.
By running a migration, we apply changes and/or roll back the changes to our schema, effectively creating or dropping tables, specifying table columns and more.
What can migrations be used for?
In Laravel, a migration can be used to:
- Create one or more database tables
- Define table columns
- Drop one or more tables
- Create keys, indexes and more
Migration files location
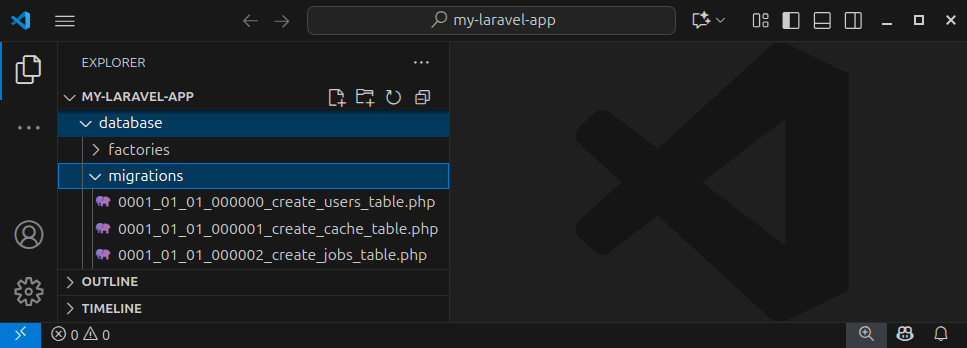
In Laravel, migration files are PHP files containing migration classes. These files are stored inside the database/migrations folder. In Laravel, we can create one or multiple migration files. Several migration files were already created when we created the Laravel project.
Creating a migration
To create a migration in Laravel, we use the artisan command-line tool. Open a terminal and execute the following statement:
php artisan make:migration sample_migration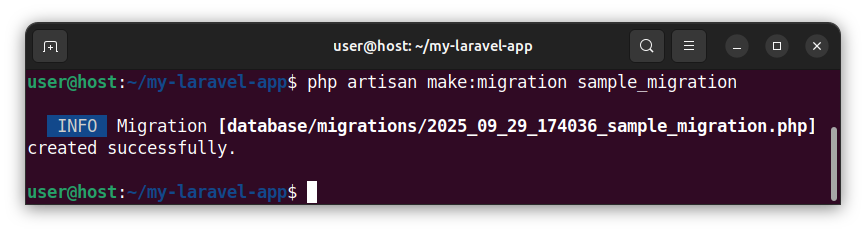
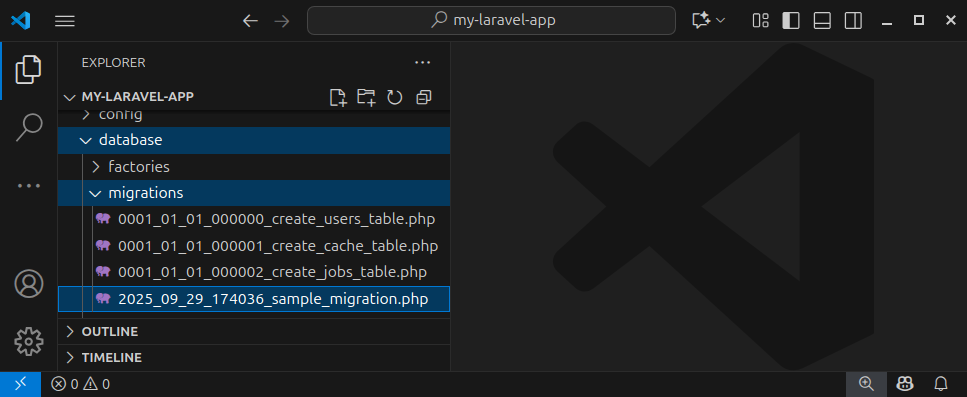
We used the artisan tool to create a migration file with the name of sample_migration. The artisan tool also adds the timestamp prefix to the file name, and saves the file to a database/migrations folder and our file name now becomes similar to: 2025_09_29_174036_sample_migration.php.
When we open this migration file, we see it holds a migration PHP class that extends another class (which is a part of the framework). Our migration class has two main functions called up() and down().
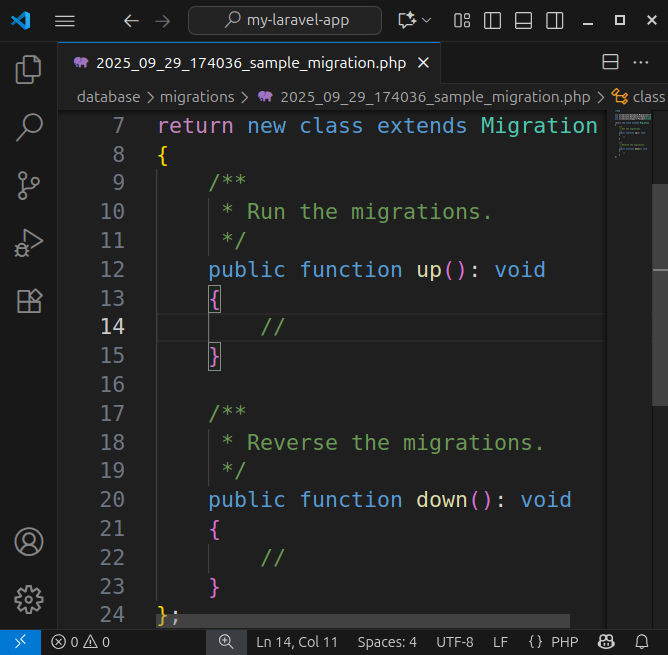
Inside the up() function, we usually define/create tables and define columns for those tables. But, for now, we can simply put a simple echo statement there. Modify the up() method, so that it now looks like the following:
public function up(): void
{
    echo "Running the sample migration." . PHP_EOL;
}
Inside the down() method, we usually place the code that drops the existing tables. For now, we can put a simple echo statement there. Modify the down() function, so that it looks like:
public function down(): void
{
    echo "Reversing the sample migration." . PHP_EOL;
}
Running and reversing migrations
To run all pending migrations, we use the artisan command-line tool and execute the following statement:
php artisan migrateThis statement executes all the pending (not already executed before) code from all the up() functions from all the migration files. We see the following output in our console window:
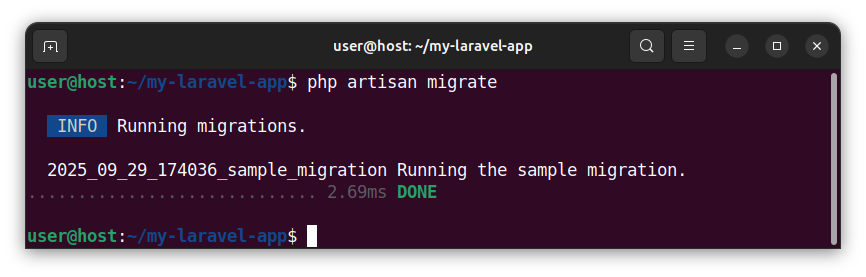
We say this statement executes only the pending batch of migrations, the group of migrations that haven't already been executed in the past. Executing the artisan command two or more times skips the migrations that were already executed before.
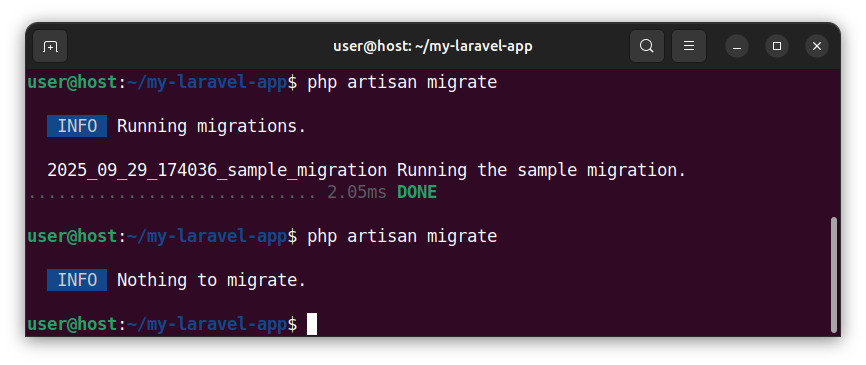
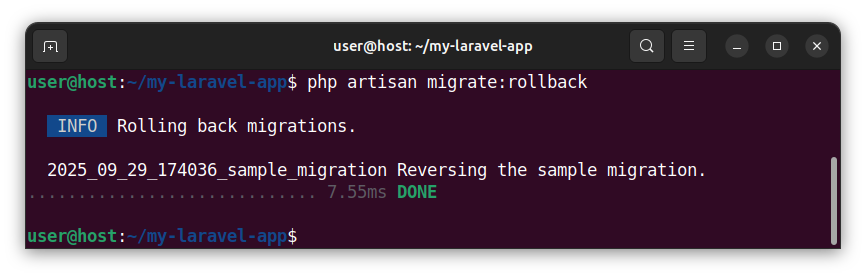
To reverse the last migration and execute the code from the down() function, we execute the following statement in the terminal:
php artisan migrate:rollbackAnd we see the following output:
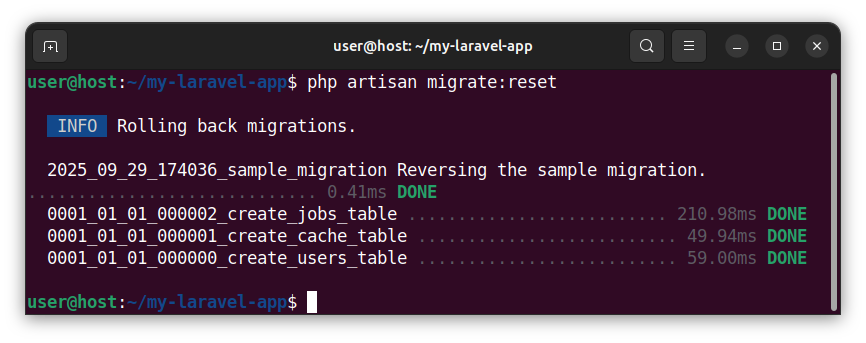
To reverse all the migrations, we can use the following command:
php artisan migrate:resetIn our terminal window, we see the reversal of all the migrations that were made:
Checking the migrations status
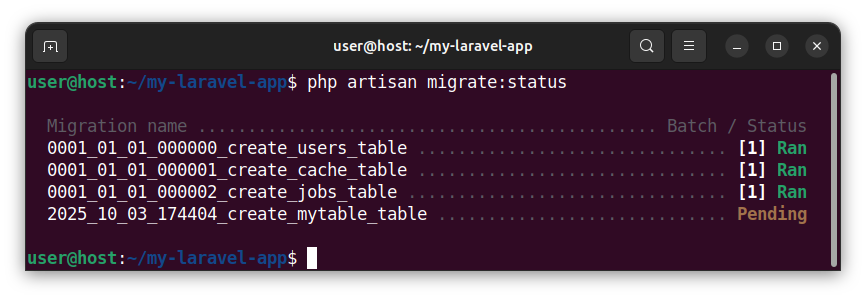
We can check the status of our migrations, by running the following command in a terminal:
php artisan migrate:statusThe possible output shows the migrations that have already been executed (ran) and the ones that are yet to be executed (pending):
Summary
In this tutorial, we learned how to create, invoke and reverse migrations in Laravel using the artisan tool. We also learned about the up() and down() functions inside the migration class and how to invoke those functions.
In our next tutorial, we will learn how to create and drop database tables using migrations.


