Passing Multiple Variables to a Template
In our previous tutorial we learned how to pass a single variable to a template. In this tutorial, we will learn how to pass multiple variables to a template file in Laravel.
Using the view() function
To pass multiple variables to a template in Laravel, we pass multiple, comma-separated variable_name => variable_value pairs as a second argument to the view() function. This second argument is an array that can store multiple key = > value pairs. The function call has the following syntax:
view('template_name', ['variable_name' => 'variable_value', 'another_variable_name => 'some_value']);Defining a route
Inside a web.php file, we define a route, and pass multiple variables to a template file through the view() function:
<?php

use Illuminate\Support\Facades\Route; // import the Route facade

Route::get('/', function () {  // define a route
    return view(
        'myvars', // pass multiple variables to a template file:
        [
            'myVar1' => 'This is a h1 text',
            'myVar2' => 'This is a h2 text',
            'myVar3' => 'This is a paragraph text.'

        ]
    );  // return a view to this route
});
This code defines a route, passes three variables to a template file, and returns the compiled content of this template file to a route. Here we used the generic myVar1, myVar2, and myVar3 variable names for simplicity reasons.
Creating a template file
Let us now create a template file that contains some HTML code and can display these variables within that HTML code. We create an empty template file, called myvars.blade.php and place it inside the resources/views folder. Open the template file and paste the following HTML code:
<!DOCTYPE html>
<html lang="en">

<head>
    <meta charset="UTF-8">
    <meta name="viewport" content="width=device-width, initial-scale=1.0">
    <title>Passing multiple variables in Laravel</title>
</head>

<body>
    <h1>{{ $myVar1 }}</h1>
    <h2>{{ $myVar2 }}</h2>
    <p>{{ $myVar3 }}</p>
</body>

</html>
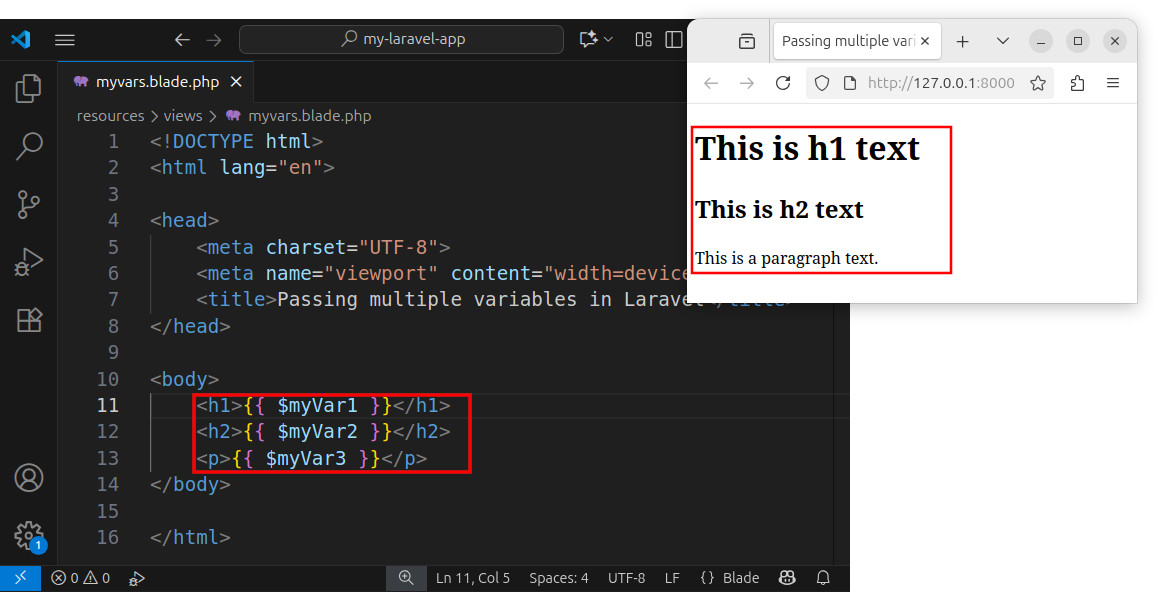
Our template file now has the HTML code and multiple {{ }} echo directives within that HTML code. Since we passed multiple variables to our template file, we can now display the values of these variables using multiple Blade echo directives: {{ $myVar1 }}, {{ $myVar2 }}, and {{ $myVar3 }}. We can position the echo statements anywhere in our HTML code. When the template gets compiled, all occurrences of {{ $some_Variable_Name }} will be replaced with actual text that represents the escaped values of our variables. These values then become part of the final HTML code.
If we access this route in a browser, we see the following HTML output in a browser:
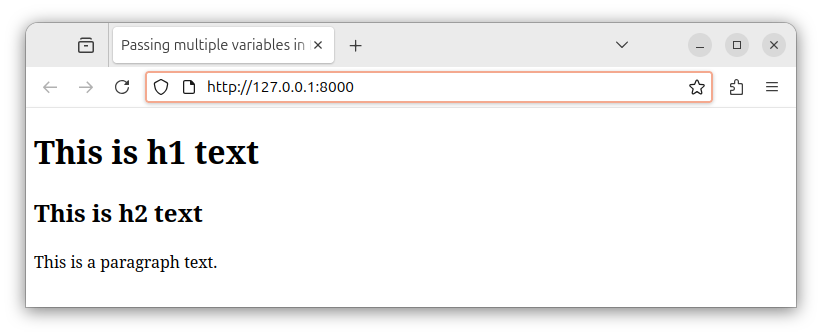
Here we opted to use the value of myVar1 as a text for our h1 heading, we used the value of myVar2 as a text for the h2 heading and finally, we used the value of myVar3 as a text for a paragraph.
Using the same template for different routes
We can use different templates for different routes, or we can use the same template for different routes. Let us explore the "one template - multiple routes" option.
Different routes can supply different values for our template variables, while preserving the same variable names and the same template name. This way, depending on the values passed to a template, different routes/pages will have different titles, paragraphs and similar. All these routes are using the same template to render their HTML output.
Let us modify our web.php to define two routes and return different variable values for each route. The complete web.php file has the following code:
<?php

use Illuminate\Support\Facades\Route; // import the Route facade

// define an index route and pass some values to a template
Route::get('/', function () {
    return view(
        'myvars',
        [
            'myVar1' => 'Index',
            'myVar2' => 'This is h2 text for the index page',
            'myVar3' => 'This is a paragraph text for the main page.'
        ]
    );
});

// define the /about route and pass different values to a template
Route::get('/about', function () {
    return view(
        'myvars',
        [
            'myVar1' => 'About',
            'myVar2' => 'This is h2 text for the about page',
            'myVar3' => 'This is a paragraph text for the about page.'
        ]
    );
});
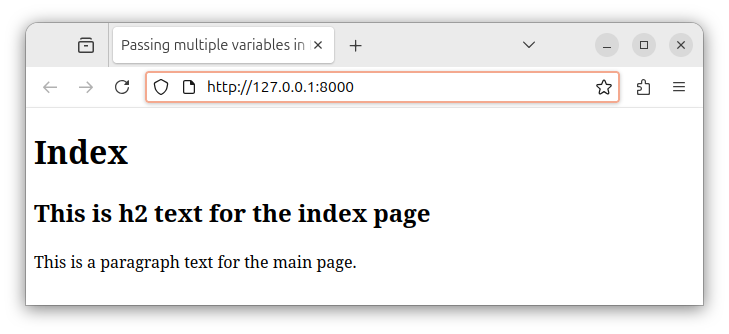
If we access the index route in our browser, we see the following HTML output:
If we access the /about route, we see a different HTML output in our browser:
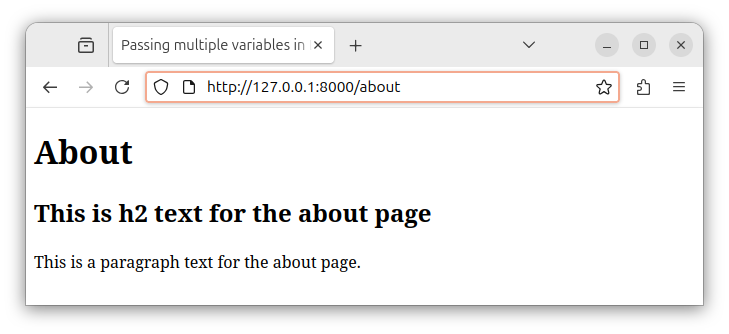
Both routes return the same view, the same template file. But since each route supplies different values to our variables, we see a different HTML output for different routes.
This way, you can return a single template that represents a page wrapper for all routes and then, inside that template, you can include other sub-templates that represent the header, footer, sidebars and the main content. We will have a dedicated tutorial for this topic, later on.
In our next tutorial, we will learn about other Blade template directives such as if directives and for loops.


