Exercise - Creating a Laravel Project
Create a single Laravel project called my-laravel-app using the default settings. Go through all the steps for creating a Laravel project. Start a local development server and display the default welcome page in a browser window.
Creating a Laravel application
To create a new Laravel application, we invoke a Laravel installer. Inside a terminal window, we write:
laravel new my-laravel-appWhen the "Which starter kit would you like to install?" dialog shows up, choose None and press enter.
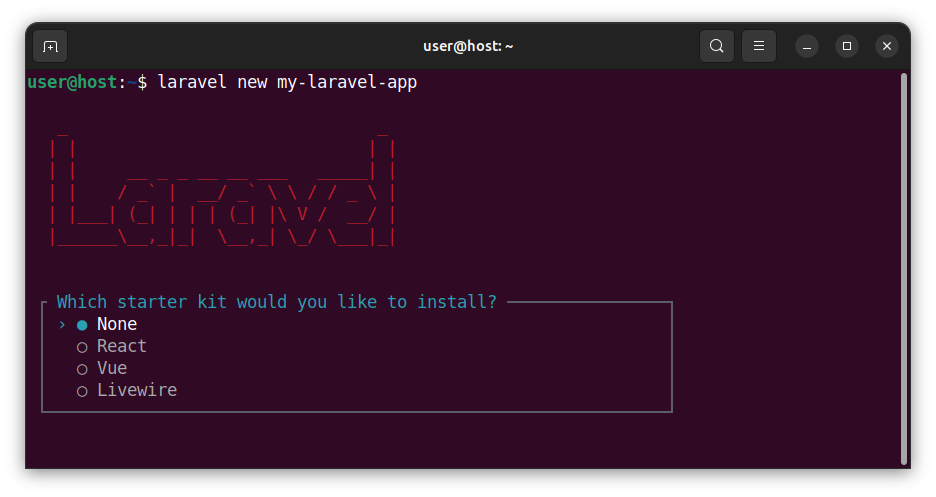
The Laravel installer will now create the my-laravel-app folder and install the Laravel project dependencies into that folder.
In the "Which database will your application use?" dialog window, choose the MySQL option and press enter. If you are using a different database, you can choose a different database engine.
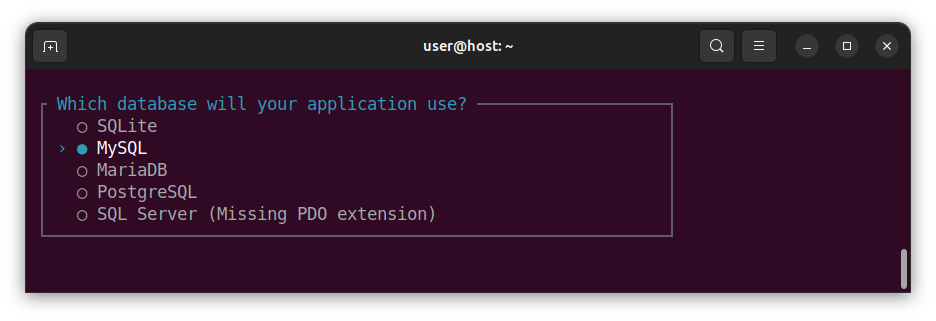
In the following dialog that says: "Default database updated. Would you like to run the default database migrations?", choose Yes and press enter.
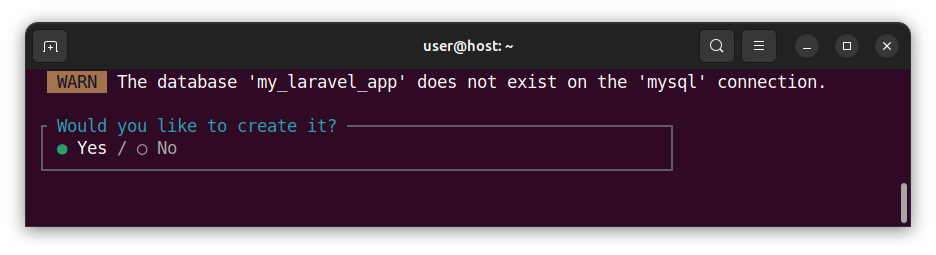
The Laravel installer will now display a warning saying that the default database named my_laravel_app does not exist. In the dialog that asks "Would you like to create it?", choose Yes and press enter.
These default migrations will now create a database and a few default tables within that database.
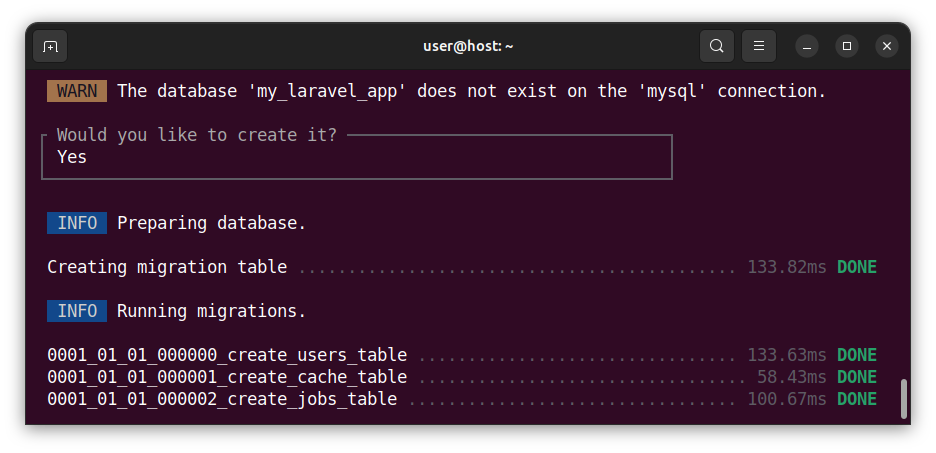
In the "Would you like to run npm install and npm run build?" choose Yes and press enter.
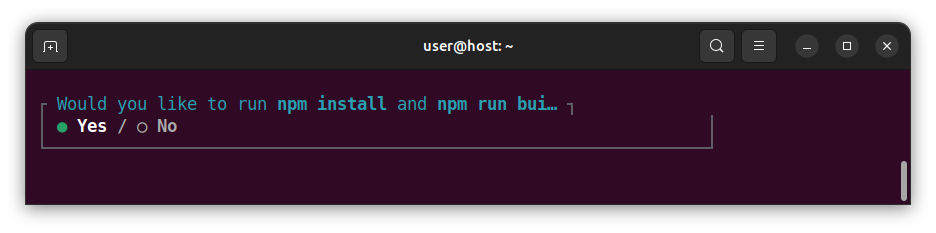
This will install several frontend dependencies used for compilation of our CSS and JS assets in our Laravel app.
Finally, we are greeted with a message that our Laravel application has successfully been created inside the my-laravel-app folder.
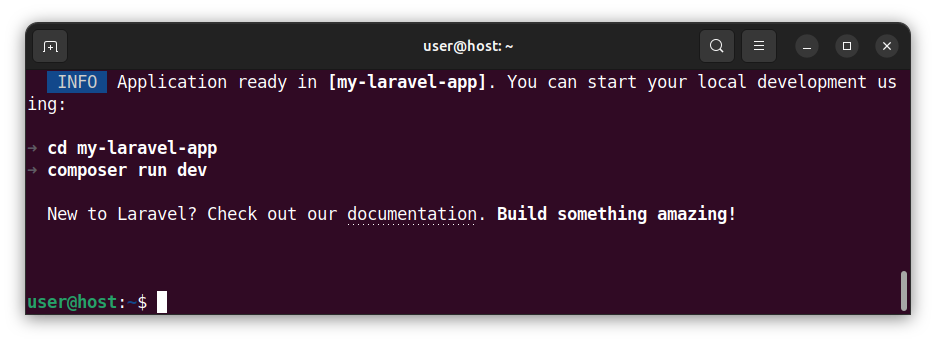
Now, we enter the project's folder by typing:
cd my-laravel-app
Starting a local server
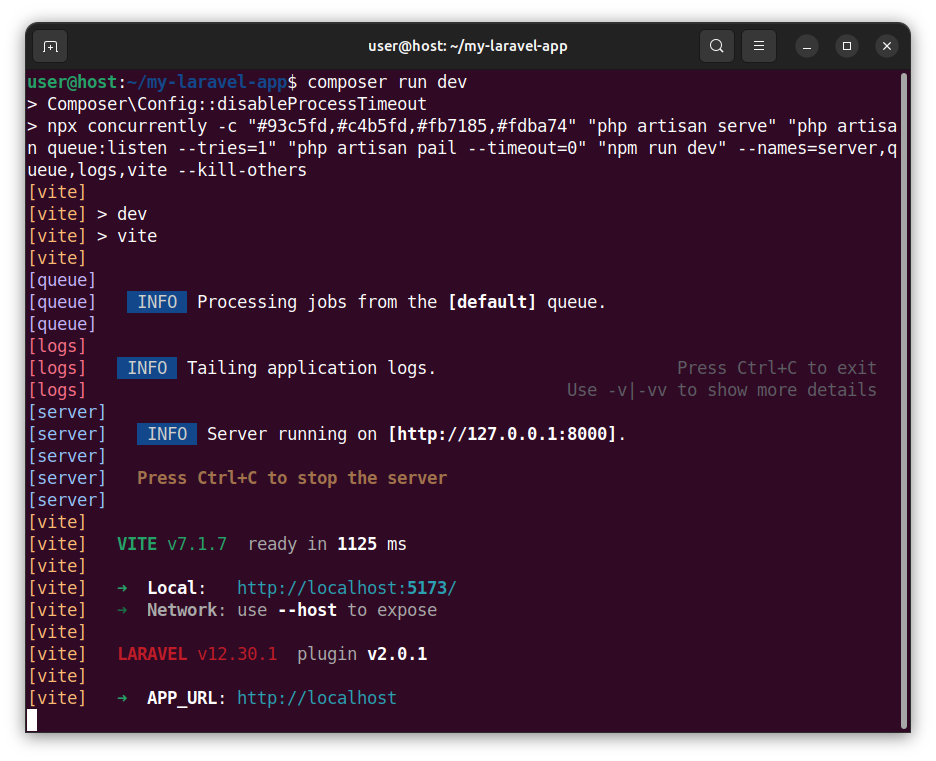
Start a local server by running a dev script using Composer:
composer run devThe local server has been started and is available at the address of http://127.0.0.1:8000. Please keep this terminal window open as long as you want the local server to run.
If we enter the local http://127.0.0.1:8000 address in our browser, we see a default Laravel app welcome page.
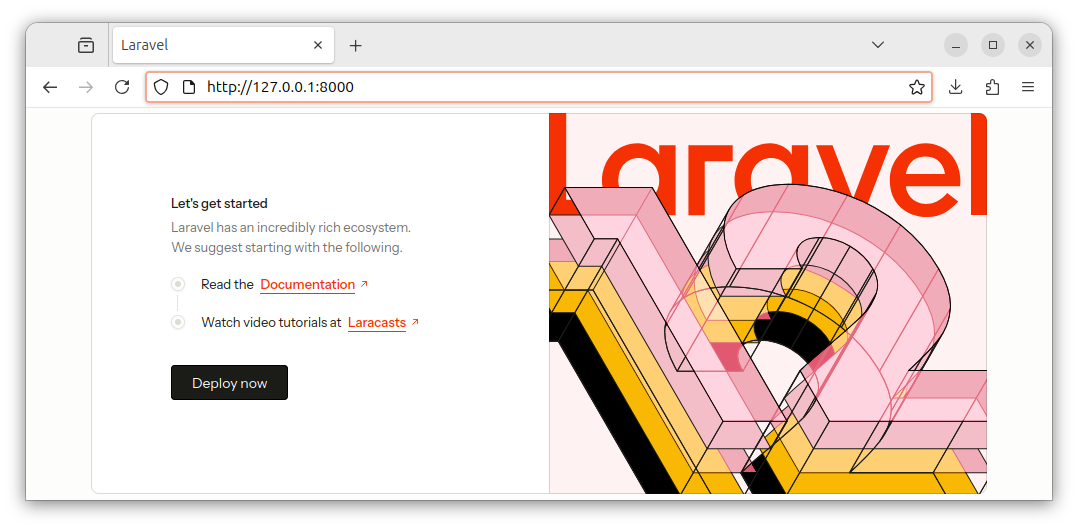
The local server can also be accessed through the http://localhost:8000 URL. We also see a default welcome page:
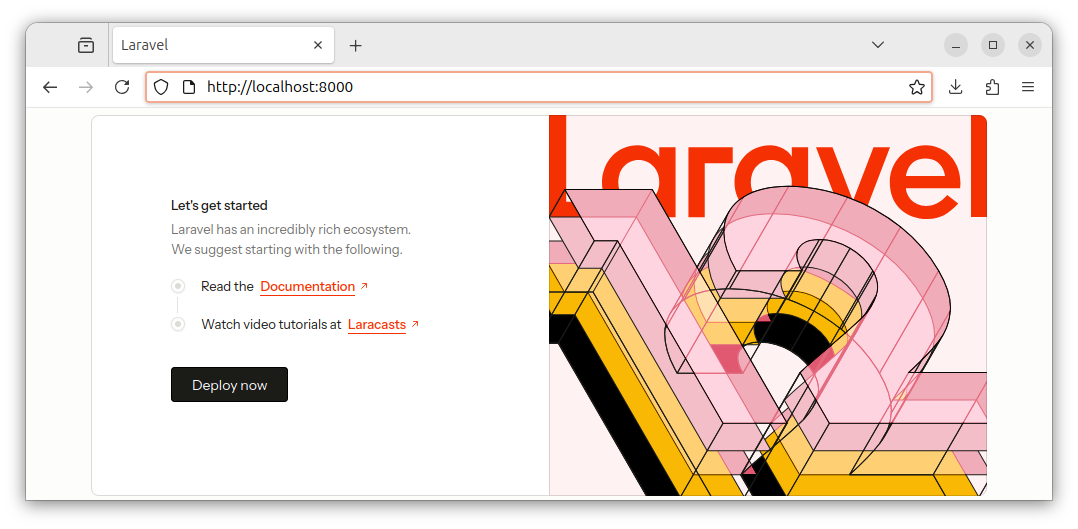
To stop the local server, inside a terminal window that hosts the local server, press Ctrl + C on your keyboard.
To start the server again, we type:
composer run devAlternatively, if you don't need to compile assets, you could start a simple, PHP built-in server by typing:
php artisan serveNow, we can open the /my-laravel-app folder in an editor of our choice and start developing our Laravel application.
Exercise summary
In this exercise, we learned how to create a Laravel app, called my-laravel-app and we went with the default settings. We also went through all the project creation steps on a local machine. In our next exercise, we will define a single route for our Laravel project.


