Exercise - Fetching All Records in Laravel
In this exercise, we will create a completely new Laravel app and create a model that fetches all the records from a table. Then, we will display all the records in a view. The task requirements are:
- Create a new Laravel project and start a local server.
- Create an articles table using a migration.
- Create an Article model that represents the articles table.
- Use the model to fetch all the records.
- Create a view that displays all the records.
Creating a new Laravel project
Create a new Laravel project and name it exercise-3-1. In the terminal, we type:
laravel new exercise-3-1In the "Which starter kit would you like to install?" dialog, choose None.
In the "Which database will your application use?" dialog, choose the (previously created) MySQL option. Alternatively, choose another, existing database engine.
In the "Default database updated. Would you like to run the default database migration?" dialog, choose Yes.
In the following dialog that asks if you would like to create the exercise_3_1 database, choose Yes.
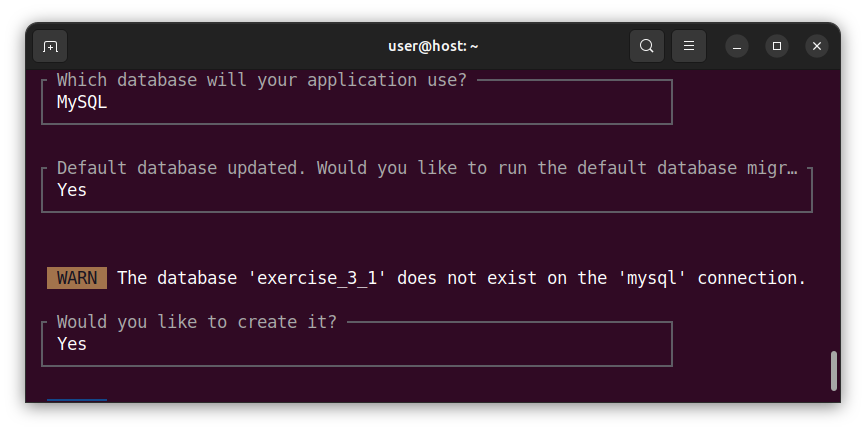
In the "Would you like to run npm install and npm run build?" dialog, choose Yes if you have the npm installed, otherwise, choose No.
Navigate to the exercise-3-1 folder:
cd exercise-3-1And start a local server:
composer run devAlternatively, if you opted for No in the previous npm dialog, you can start a local server with:
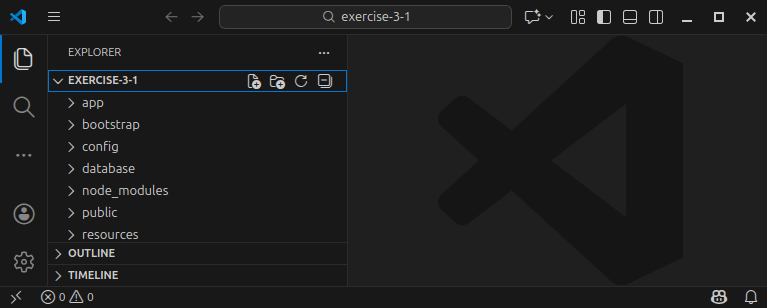
php artisan serveNow, open the entire exercise-3-1/ folder in an editor of your choice. Here, we will opt for Visual Studio Code. In VS Code, we choose File -> Open Folder... and we choose the exercise-3-1 folder. Now the Visual Studio Code lists all the files and folders from our exercise-3-1/ folder:
Creating a table
Open a new terminal window, and make sure you are inside the exercise-3-1 folder. Create a migration file that creates the articles table:
php artisan make:migration create_articles_table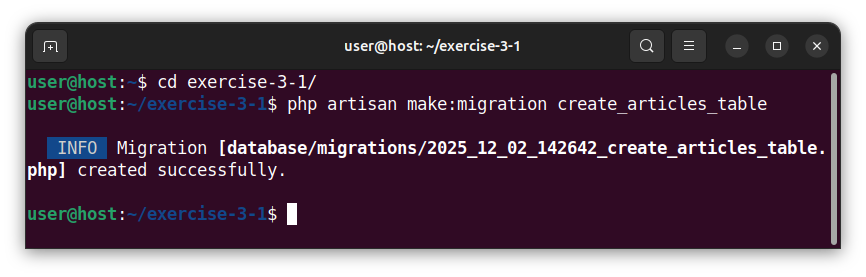
In VS Code, open the newly created migration file which has a time-stamped name similar to 2025_12_02_100707_create_articles_table.php. This pre-filled migration file creates an articles table with the id, created_at and updated_at columns. We will add additional title and article_text columns to this table, so that the up() function now looks like:
public function up(): void
{
    Schema::create('articles', function (Blueprint $table) {
        $table->id();
        $table->string('title');
        $table->text('article_text');
        $table->timestamps();
    });
}
Running a migration
In a terminal window, run the migration that creates the articles table:
php artisan migrate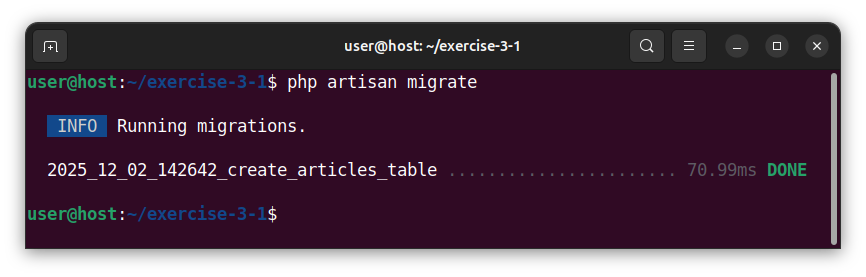
Inserting sample records
To quickly insert a few sample records into our articles table, in the terminal, open the tinker command-line tool:
php artisan tinker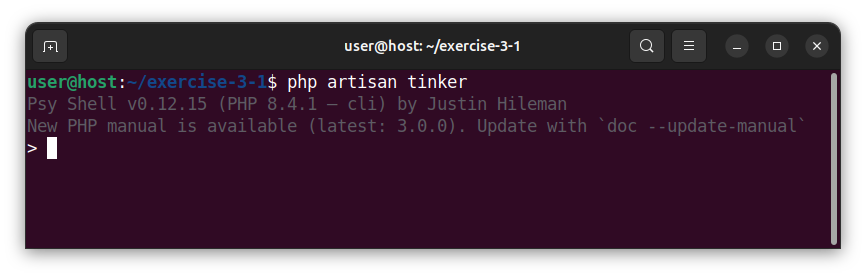
And paste and execute the following statements:
DB::table('articles')->insert([
    [
        'title' => 'The First Article',
        'article_text' => 'This is the text of the first article.',
        'created_at' => now(),
        'updated_at' => now(),
    ],
    [
        'title' => 'The Second Article',
        'article_text' => 'This is the text of the second article.',
        'created_at' => now(),
        'updated_at' => now(),
    ],
    [
        'title' => 'The Third Article',
        'article_text' => 'This is the text of the third article.',
        'created_at' => now(),
        'updated_at' => now(),
    ],
]);
exit;
Creating a model
Now, we will create a model, called Article, which represent the articles table. In a terminal, we write:
php artisan make:model Article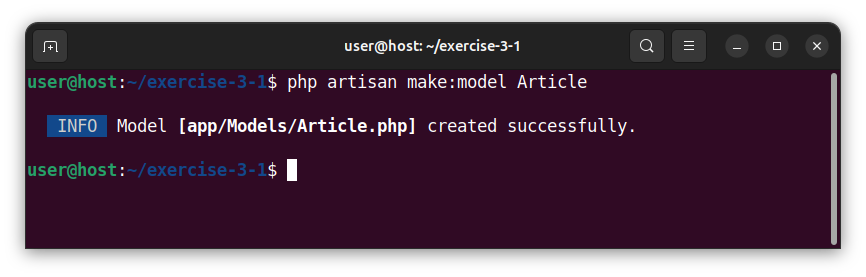
This command creates an Article.php file inside the app/Models/ folder. The file contains our Article model class which is automatically tied to our articles table. At this point, no modifications to our Article.php file are needed.
Defining a route and fetching all the records
Open the web.php file and paste the following code:
<?php

use App\Models\Article; // import the Article class
use Illuminate\Support\Facades\Route;

Route::get('/', function () { // define a route
    $myRecords = Article::all(); // fetch all the records
    // pass the records (to a view) and return a view
    return view('myview', ['myRecords' => $myRecords]);
});
This code defines the index route '/', fetches all the records using the Model::all() function call and passes the fetched records to a view.
Creating a view
Create a view and name it myview. On the shell, we write:
php artisan make:view myview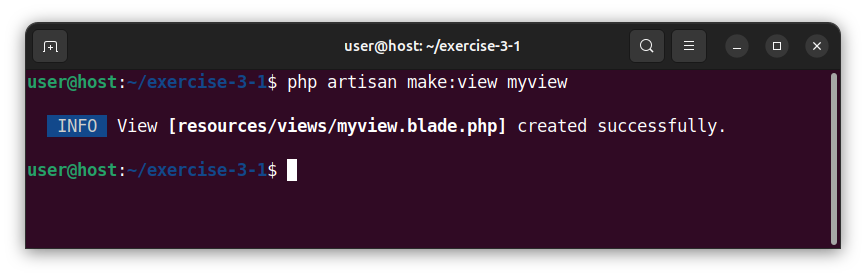
Open the newly created myview.blade.php template file from the resources/views/ folder and paste the following HTML code:
<!DOCTYPE html>
<html lang="en">
<head>
    <meta charset="UTF-8">
    <meta name="viewport" content="width=device-width, initial-scale=1.0">
    <title>Laravel Exercise - Fetching All the Records</title>
</head>
<body>
    <h1>Laravel exercise</h1>
    @foreach ($myRecords as $myRecord)
    <h2>Title: {{ $myRecord->title }}</h2>
    <p>Text: {{ $myRecord->article_text }}</p>
    <p>Created at: {{ $myRecord->created_at }}</p>
    <p>Updated at: {{ $myRecord->updated_at }}</p>
    @endforeach
</body>
</html>
This HTML template uses the @foreach loop directive to iterate over the $myRecords variable/collection and displays all the records. The records are displayed using the blade echo directive {{ }}. Inside the echo directive, we access table columns as properties of the $myRecord object, using $myRecord->title, $myRecord->article_text and similar.
Displaying the results in a browser
In our web browser, we access the local index route of http://127.0.0.1:8000 and observe the following results:
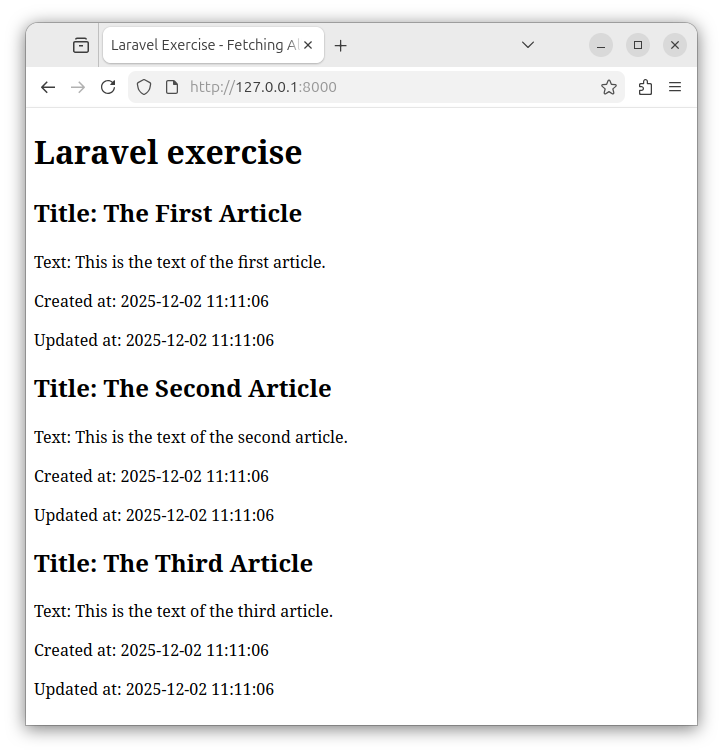
Our web page now displays all the records from the articles table.


