The if Directive
In this tutorial we will learn how to use the if directive in our template.
In Laravel, we can use the @if directive in our templates to conditionally display different values or different parts in our HTML template. The @if directive has the following syntax:
@if (condition)
    some template code
@else
    other template code
@endif
The if directive checks a condition and if a condition is true, the code inside the if-branch will be included in our template. If the condition is false, the code inside the else-branch will be included/displayed in our template. Finally, the @endif statement marks the end of our @if directive.
Passing a variable to a view
Using our web.php file, we can pass a simple variable to our template. Let us name the variable myVar, and pass in the value of 123, for example. The code for the web.php file looks like the following:
<?php

use Illuminate\Support\Facades\Route; // import the Route facade

Route::get('/', function () {  // define a route
    return view('myview', ['myVar' => 123]); // pass a variable and return a view
});
Using the if directive in a template
Let us create a myview.blade.php template file and place it inside the resources/views folder.
Inside this template file, we can now use the @if directive to check, for example, if the value of $myVar is equal to 123. If the condition is true, we display a paragraph with some text in the if-branch. If the condition is false, we display a paragraph with a different text in the else-branch. The myview.blade.php code now looks like the following:
<!DOCTYPE html>
<html lang="en">

<head>
    <meta charset="UTF-8">
    <meta name="viewport" content="width=device-width, initial-scale=1.0">
    <title>The if directive in Laravel</title>
</head>

<body>
    <h1>Using the if directive</h1>
    @if($myVar === 123)
        <p>The value of myVar is equal to 123.</p>
    @else
        <p>The value of myVar is not equal to 123.</p>
    @endif
</body>

</html>
This part of our template code:
@if($myVar === 123)
     <p>The value of myVar is equal to 123.</p>
@else
     <p>The value of myVar is not equal to 123.</p>
@endif
Uses the template's if directive to check if the value of $myVar variable is equal to 123. If the condition is true, the template will include/display a paragraph with the confirmation text. If the condition is false, the template will include/display a different paragraph with a different text.
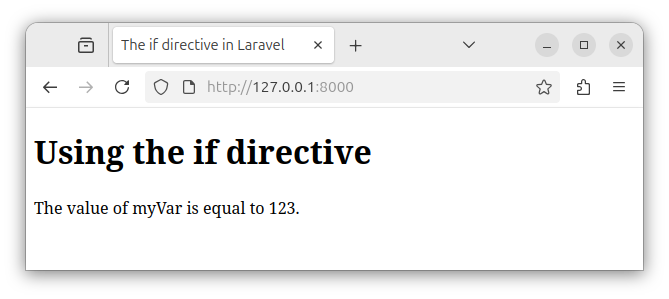
Since the value of a $myVar variable is indeed equal to 123, the code inside the if-branch will be executed and we see the following HTML output in our browser:
Using the if directive, we can also conditionally display multiple lines of HTML code. Let us modify our myview.blade.php template to include multiple HTML statements in both the if and else branches:
<!DOCTYPE html>
<html lang="en">

<head>
    <meta charset="UTF-8">
    <meta name="viewport" content="width=device-width, initial-scale=1.0">
    <title>The if directive in Laravel</title>
</head>

<body>
    <h1>Using the if directive</h1>
    @if($myVar === 123)
        <h2>Executing the if-branch</h2>
        <p>The value of myVar is equal to 123.</p>
    @else
        <h2>Executing the else-branch</h2>
        <p>The value of myVar is not equal to 123.</p>
    @endif
</body>

</html>
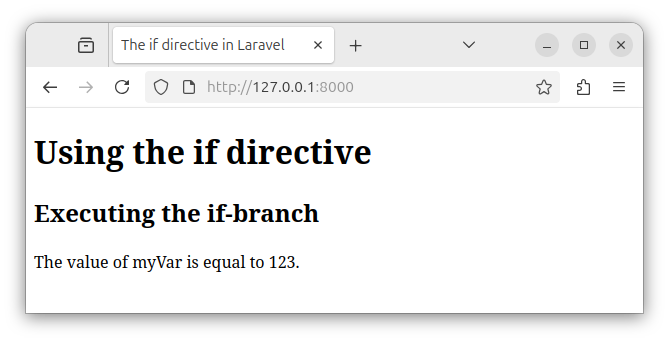
Now, if we access the local address in our browser once again, we see the following output:
Summary
In summary, the @if template directive can be a useful tool if we want to conditionally display different content/parts inside our HTML page.
In our next tutorial, we will learn how to display array values using the foreach loop directive.


