Editing the Project's Files
Laravel is a PHP framework that consists of multiple files. This article explains how to install a text editor and use it for editing files when developing our Laravel application.
Installing and using an editor
To edit files, we can opt for a free Visual Studio Code editor, often abbreviated as VS Code. Download and install the Visual Studio Code editor from: code.visualstudio.com/download.
To install the Visual Studio Code on Linux Ubuntu or Debian, download the .deb file, open a terminal and type:
sudo apt install ./donwloaded_file_name.debReplace the downloaded_file_name.deb with the actual file name.
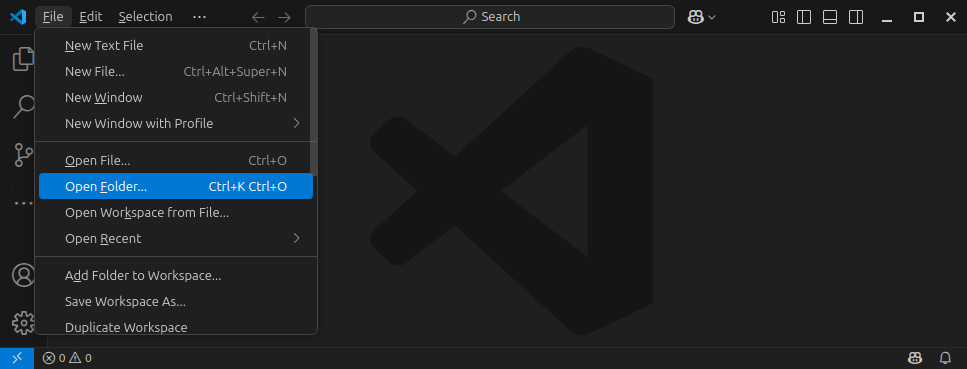
Open the Visual Studio Code editor. From the drop-down menu, choose File - Open Folder...
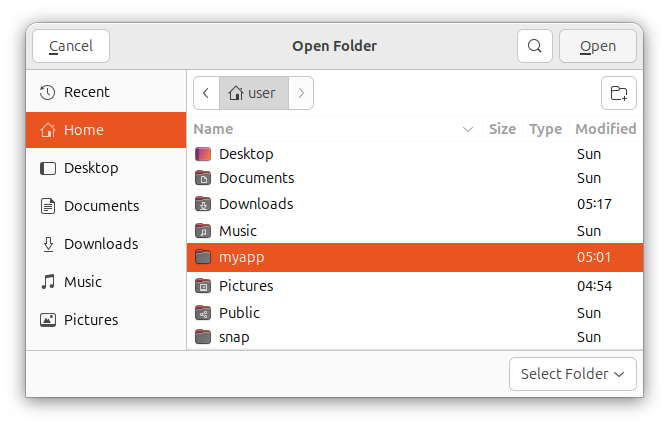
Choose the previously created myapp folder and click Open.
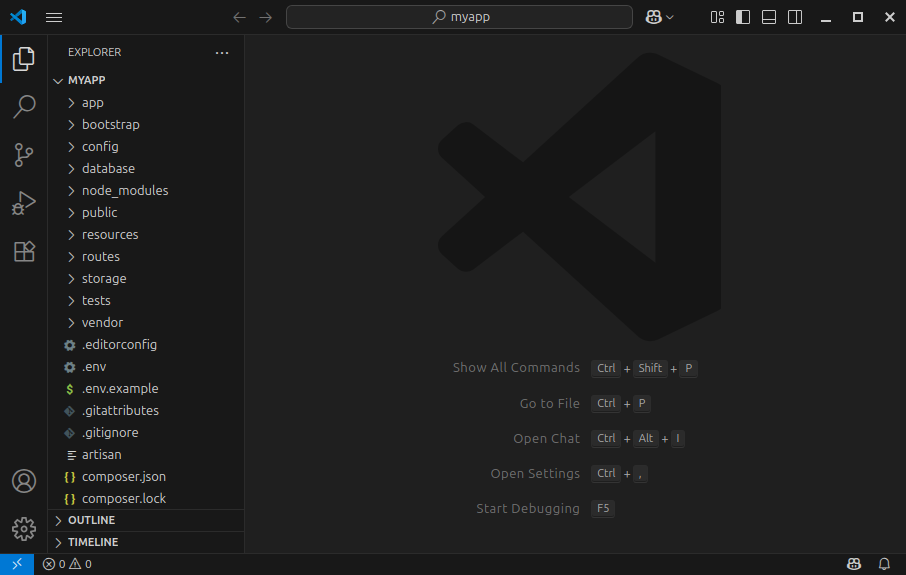
The Explorer window inside the left sidebar shows the content of our Laravel project. It lists all the files and folders inside our Laravel project.
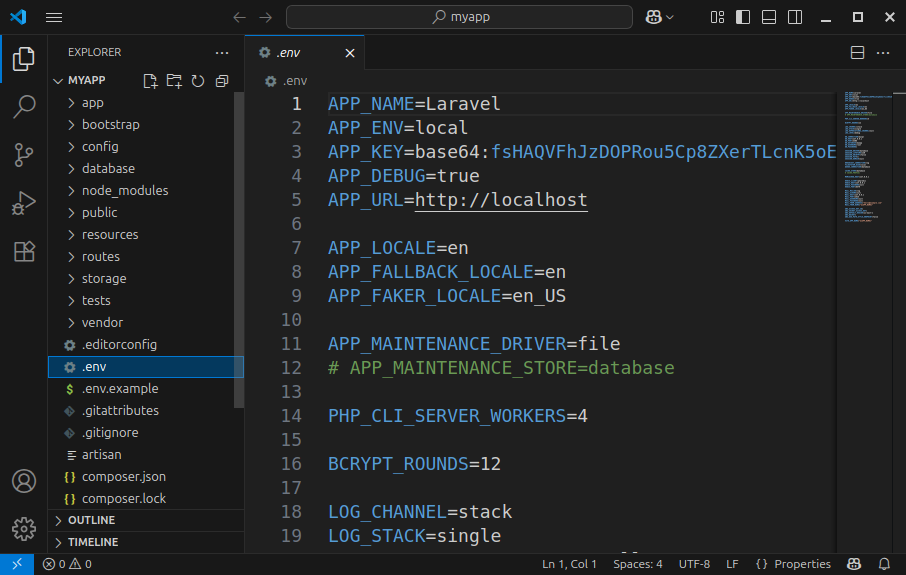
By clicking on any of those files, the file content appears in the editor and we are able to edit that particular file.
Keyboard shortcuts:
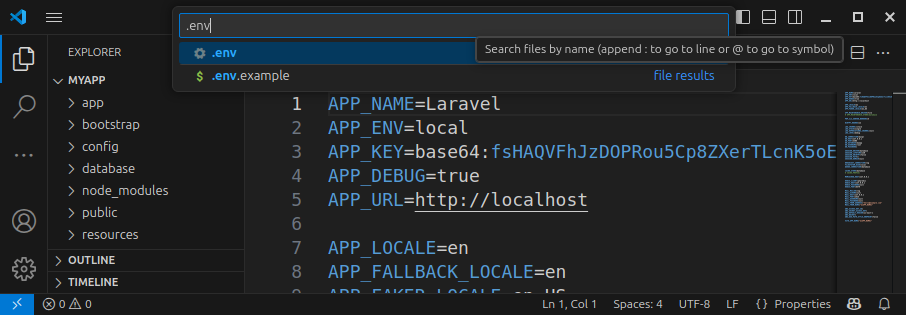
To quickly go to a particular file, press Ctrl + P, enter the file’s name, and press Enter.
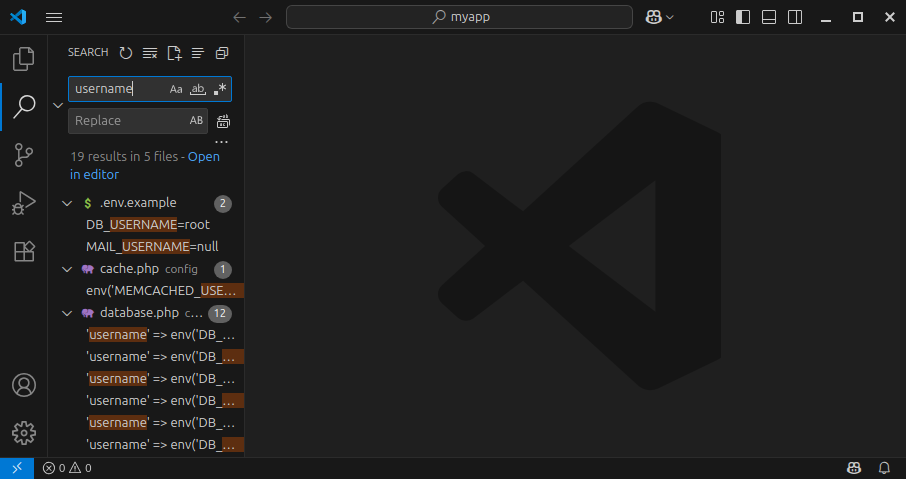
To search for the text in all files, click on the Search icon or press Ctrl + Shift + F.
Other editors are also available:
- PHP Storm
- Sublime Text
- Vim
- Other editors
In our next article, we will learn about Laravel's project's structure and important folders.


