Introduction to Views in Laravel
This tutorial is an introduction to views and Blade templates in Laravel. We explain how to create, use, and return views in Laravel.
The MVC architecture
The Laravel framework relies on the so-called Model-View-Controller (MVC) architecture. This architecture is used to separate the business logic from the presentation logic. In MVC, Models are used to represent the data, Views are used to display the data and Controllers are used to connect the two.
In Laravel, Models are classes that represent tables and relationships between tables. Views are template files that store the HTML code to be displayed, and Controllers are classes that can be used to connect Models with Views.
Introduction to views
Views, used for the presentation logic, are implemented through template files, called Blade templates, or Blade templating engine. We place our HTML code in those template files.
Templates are regular PHP files with the .blade.php extension. These files are placed inside the resources/views folder. Inside this folder, we can have one or more template files. The framework internally compiles the template files and produces the final HTML output. How do we use the templates? The workflow is as the following:
- We create the template files.
- We put our HTML code into the template file.
- We return this template/view to a specific route/page on our website.
Creating a view (a template file)
Option 1 - Using the artisan tool to create a template file
In the terminal, we write:
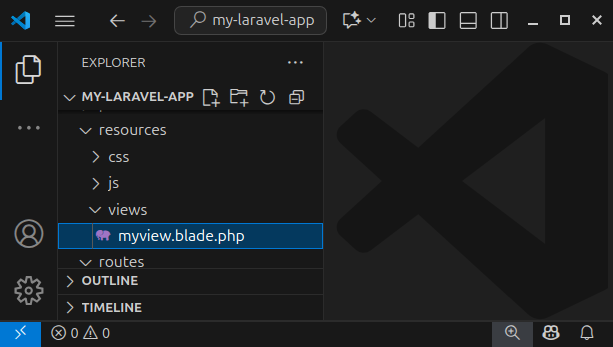
php artisan make:view myviewThis command creates a template file, named myview.blade.php, and places it inside the resources/views folder.
Option 2 - Manually creating a template file
Inside the resources/views folder, we can manually create an empty template file and name it, for example, myview.blade.php. We can choose any name for our file, but it should always have the .blade.php extension.
Inserting the HTML code into a template file
We open the newly created template file and paste the following simple HTML code:
<!DOCTYPE html>
<html lang="en">

<head>
    <meta charset="UTF-8">
    <meta name="viewport" content="width=device-width, initial-scale=1.0">
    <title>Introduction to Views in Laravel</title>
</head>

<body>
    <h1>Hello from a template file</h1>
    <p>This HTML code comes from a template file.</p>
</body>

</html>
Finally, we save the file.
Returning a view to a route
In our web.php file, we define a route using the Route::get() function and return a view file to that route. To return a view, we use the view() helper function that accepts the name of the template file, without the .blade.php extension part. The view() function returns the evaluated/compiled content of a template file. Our web.php file now looks like the following:
<?php

use Illuminate\Support\Facades\Route; // import the Route facade

Route::get('/', function () {  // define a route
    return view('myview');  // return a view (myview.blade.php template) to this route
});
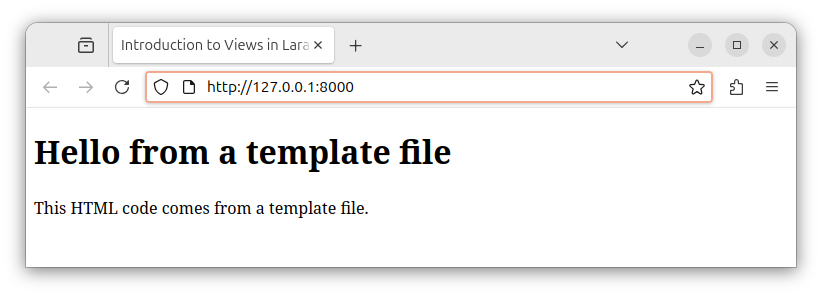
When we access our local web address through the http://127.0.0.1:8000 address, the browser displays the rendered HTML code that originates from our template file.
Summary
Views in Laravel are used for displaying data and are implemented through Blade template files. We place our HTML code in these template files. Finally, we return this template/view to a particular route, using a web.php file or a controller class.
We say views are used for the presentation logic - for displaying data. We also say views separate the presentation logic from the business logic.
In our next tutorial, we will learn how to pass variables to our views/templates and display the values of those variables.


