Laravel Exercise - Inserting a Record
In this exercise, we will use a controller method to insert a new record into a table.
Exercise text
In a Laravel application:
- Create a
poststable with the following columns:id- auto-incrementing ID field.slug- VARCHAR(255) string field for storing the post's slug.title- VARCHAR(255) string field for storing a title.post_text- TEXT column for storing the post's text.
- Create a
Postmodel and associate it with thepoststable. - Create the following Blade templates:
- index.blade.php - shows all posts.
- create.blade.php - a template that displays an HTML form for inserting a new post.
- Create a
PostControllercontroller class with the following member functions:index- fetches and displays all posts.create- shows a form for inserting a new post.store- validate the data and insert a new record.
- Define the following GET and POST routes:
/posts- show all posts (GET)./posts/create- displays a form for inserting a new post (the GET request)./posts/create- validates the data and stores/inserts the new record into apoststable.
Note: The PostController's store() method does the actual inserting into a table.
Creating a table
Create a migration that creates the posts table. In the terminal, we write:
php artisan make:migration create_posts_table
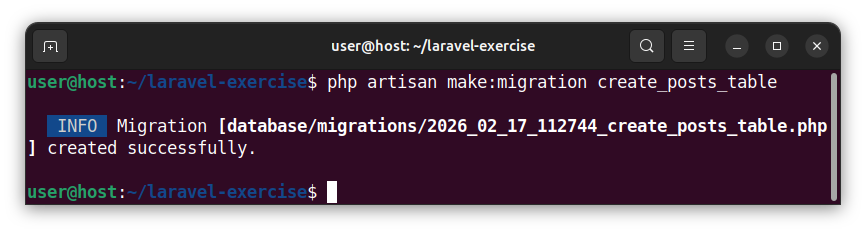
Open the newly created migration file whose name ends with the _create_posts_table.php. Replace the existing Schema::create function code with the following code:
Schema::create('posts', function (Blueprint $table) {
    $table->id();
    $table->string('slug')->unique();
    $table->string('title');
    $table->text('post_text');
    $table->timestamps();
});
This code modifies the database schema and creates a posts table with the specified columns.
Running a migration
To run the above code and create a table in a database, we run the migration in the terminal:
php artisan migrate
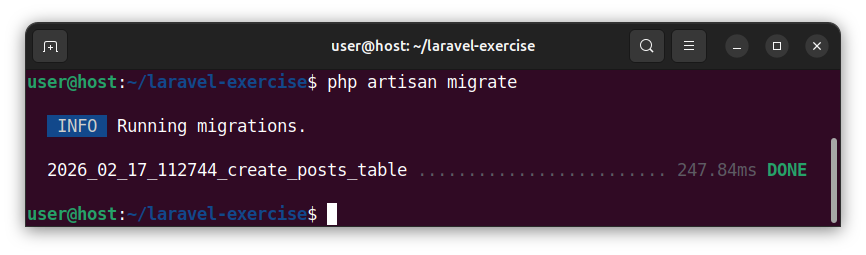
The database schema has been modified, and now, our database has a posts table:
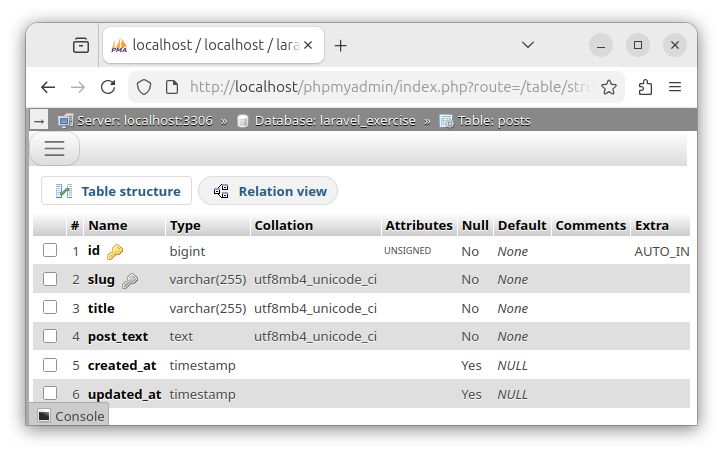
Note: Here, we used the PHPMyAdmin software to inspect the posts table structure.
Creating a Post model
To create a Post model that maps to the posts table, in the terminal, we execute:
php artisan make:model Post
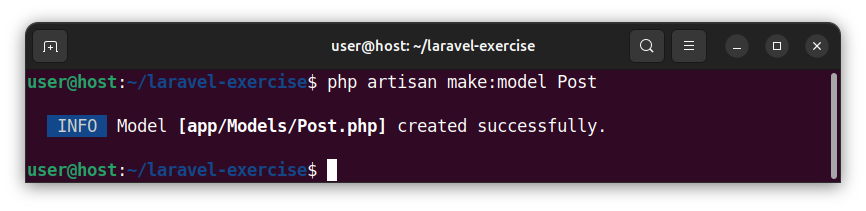
This command creates the Post.php file and prefills it with the Post model source code.
Defining routes
Open the web.php file and paste the following source code:
<?php

use App\Http\Controllers\PostController;
use Illuminate\Support\Facades\Route;

Route::get('/posts', [PostController::class, 'index'])->name('posts.index');
Route::get('/posts/create', [PostController::class, 'create'])->name('posts.create');
Route::post('/posts/create', [PostController::class, 'store'])->name('posts.store');
This code defines the following routes:
/posts- The GET route that displays all the posts from apoststable./posts/create- The GET route that displays a form for inserting a new post./posts/create- The POST route that handles the submitted data and inserts a new record.
Note: Using named routes constitutes good practice. We named all the routes using multiple name() function calls.
Creating views
The index view
Create the index Blade template that shows all the posts:
php artisan make:view index
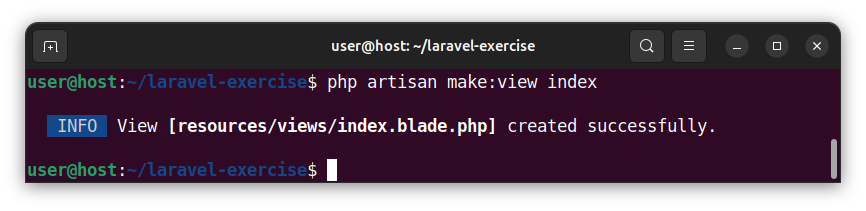
Note: The above step is required if there is no index.blade.php template in our Laravel app. If you already created the index.blade.php file (ex. in one of the previous exercises), you can simply open the existing index.blade.php file and skip the creation step.
Open the index.blade.php file and paste the following code:
<!DOCTYPE html>
<html lang="en">
<head>
    <meta charset="UTF-8">
    <title>Showing All Posts</title>
    <style>
        body { font-family: sans-serif; }
        table { border-collapse: collapse; }
        th, td { border: 1px solid #ccc; padding: 8px 12px; }
        th { background: #f5f5f5; }
        body a { font-size: 1.25rem; display: inline-block; margin-bottom: 20px; }
    </style>
</head>
<body>
    <h1>All Posts</h1>
    <a href="{{ route('posts.create') }}">Create a new post</a>
    <table>
        <thead>
            <tr>
                <th>Id</th>
                <th>Slug</th>
                <th>Title</th>
                <th>Text</th>
            </tr>
        </thead>
        <tbody>
            @foreach($allPosts as $post)
                <tr>
                    <td>{{ $post->id }}</td>
                    <td>{{ $post->slug }}</td>
                    <td>{{ $post->title }}</td>
                    <td>{{ $post->post_text }}</td>
                </tr>
            @endforeach
        </tbody>
    </table>
</body>
</html>
This HTML code will be used to display all the records from a posts table and display a "Create a new post" link.
The create view
To create the Blade template, named create, that displays an HTML form for inserting a new post, execute the following Artisan command in the terminal:
php artisan make:view create
Note: The above creation step can be skipped if you already created the create.blade.php file in one of the previous exercises.
Open the create.blade.php file and paste the following code:
<!DOCTYPE html>
<html lang="en">
<head>
  <meta charset="UTF-8">
  <title>Insert New Post</title>
  <style>
    body { font-family: Arial, sans-serif; padding: 10px; }
    form { max-width: 400px; display: flex; flex-direction: column; gap: 10px; }
    input, textarea, button { padding: 5px; }
    textarea { height: 150px; }
    button { margin-top: 5px; border: none; cursor: pointer; width: 100px; }
    .errors-list { max-width: 380px; background-color: #f6cfd2; color: #7f1f27; padding: 10px; }
    .errors-item { margin-left: 20px; }
  </style>
</head>
<body>
  <h2>New Post</h2>
  <!-- Display validation errors, if any -->
    @if ($errors->any())
        <ul class="errors-list">
            @foreach ($errors->all() as $error)
                <li class="errors-item">{{ $error }}</li>
            @endforeach
        </ul>
  @endif
  <form action="{{ route('posts.store') }}" method="POST">
    @csrf
    <label for="slug">Slug:</label>
    <input type="text" name="slug" value="{{ old('slug') }}">
    <label for="title">Title:</label>
    <input type="text" name="title" value="{{ old('title') }}">
    <label for="post_text">Post Text:</label>
    <textarea name="post_text">{{ old('post_text') }}</textarea>
    <button type="submit">Submit</button>
  </form>
</body>
</html>
This template displays an HTML form for inserting a new post.
Creating a controller
Create a PostController controller in the terminal:
php artisan make:controller PostController
Note: The above step can be skipped if you already created the PostController.php file in one of the previous exercises.
Open the PostController.php file and paste the following source code:
<?php

namespace App\Http\Controllers;

use App\Models\Post;
use Illuminate\Http\Request;

class postController extends Controller
{
    public function index()
    {
        $allPosts = Post::all();
        return view('index', [
            'allPosts' => $allPosts;
        ]);
    }

    public function create()
    {
        return view('create');
    }

    public function store(Request $request)
    {
        // use the validate() method to validate the data
        $validated = $request->validate([
            // validate the slug field against the 'required', 'string', 'min:3',
            // and the 'unique in the posts table' rules
            'slug' => 'required|string|min:3|unique:posts,slug',
            // validate the title field against the 'required' 'string' and
            // 'minimum 3 characters in length' rules
            'title' => 'required|string|min:3',
            // validate the post_text field against the 'required', 'string',
            // 'min:3' and 'max 1000 characters' rules
            'post_text' => 'required|string|min:3|max:1000',
        ]);
        // if the validation is successful, insert the record
        $newPost = new Post();
        $newPost->slug = $validated['slug'];
        $newPost->title = $validated['title'];
        $newPost->post_text = $validated['post_text'];
        $newPost->save();

        // and redirect the user to the `/posts` route
        // using the posts.index named route
       return redirect()->route('posts.index');
    }
}
This code defines the controller class with several member functions.
index()- fetches and displays all the records from thepoststable using thePostmodel.create()- returns a view/template that displays an HTML form for inserting a new post.store()- validates the data, and, if the validation is successful, inserts a new record into a table. Then, it redirects the user to the/postsroute.
Usage
To show all posts, we access the 127.0.0.1:8000/posts route in a browser:
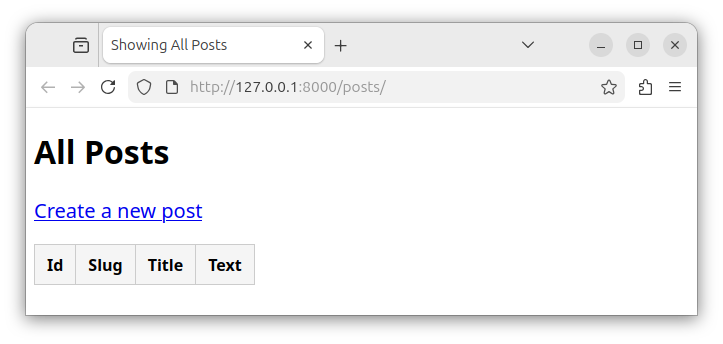
Note: Currently, the posts table is empty, so we do not see any records on the page.
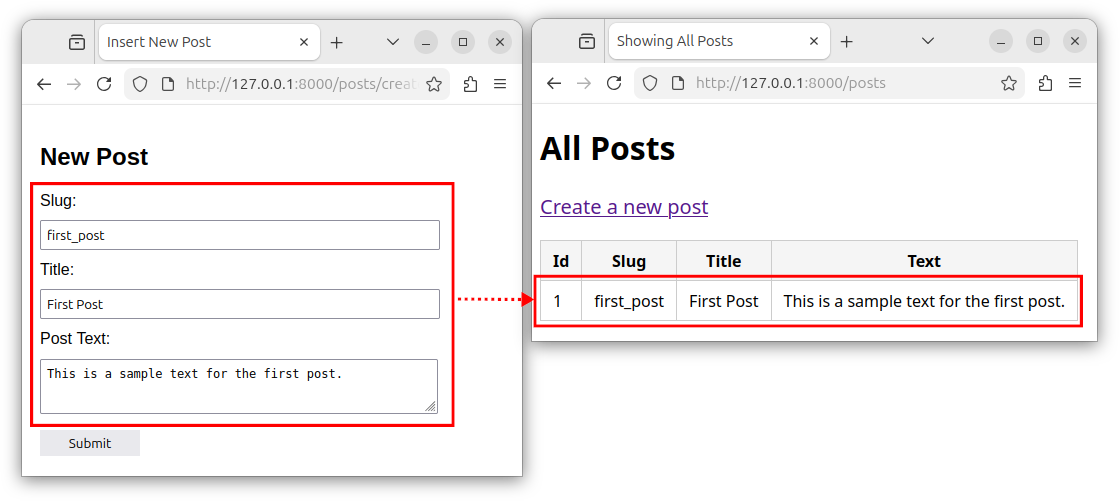
To insert a new post, we click on the "Create a new post" link, which takes us to the 127.0.0.1:8000/posts/create route in a browser:
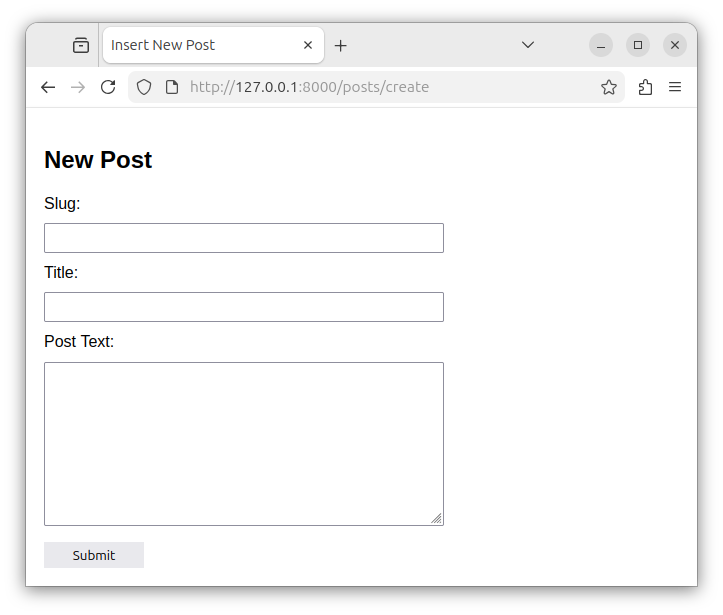
We enter the data and click the Submit button:
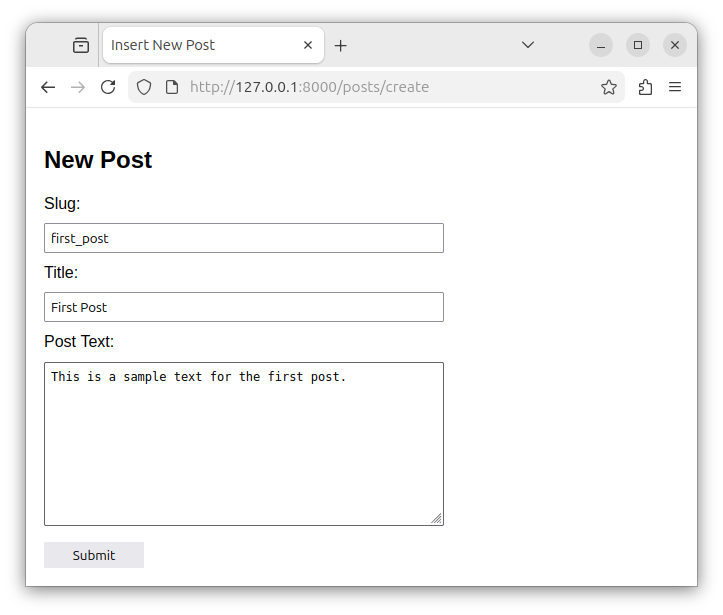
When we submit the form, the POST request is sent to the /users/create route and the controller's store() method handles that route. The data gets validated and inserted into a table. Then, we are redirected back to the 127.0.0.1:8000/posts route. Now, we see the newly inserted record:
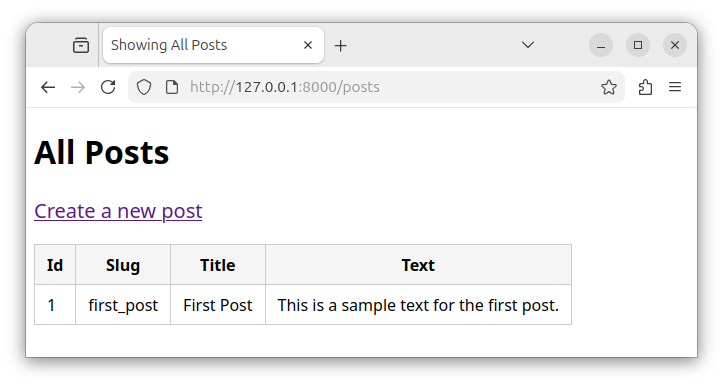
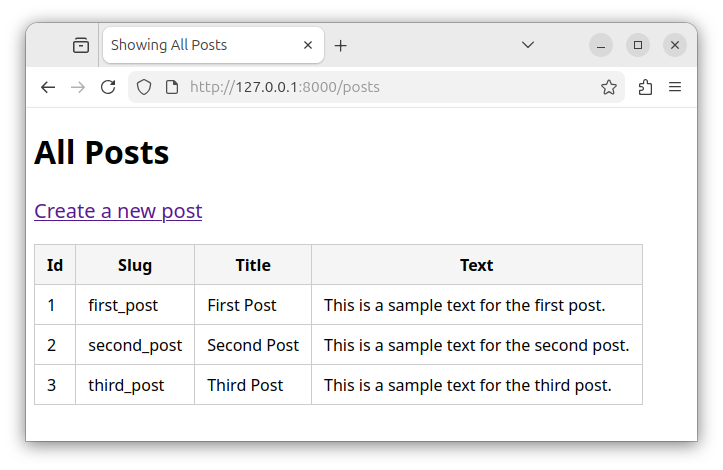
If we repeat the process of inserting new records, we will see multiple records on our page: