Installing Laravel on macOS
This article explains how to install the latest Laravel framework on macOS, set up a local development server, and create a simple Laravel application.
Installing PHP, Laravel, and Composer
On your Mac, open the Terminal app by going to Finder - Applications - Utilities folder, and clicking on the Terminal app icon.
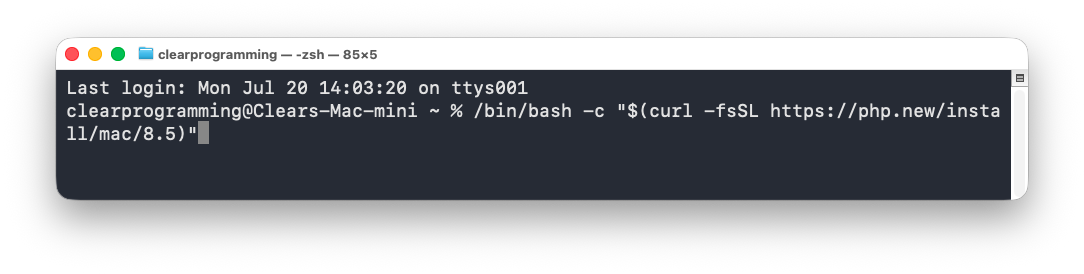
To install PHP, the Laravel installer, and Composer, we use the official remote installation script. Paste and execute the following command in your Terminal:
/bin/bash -c "$(curl -fsSL https://php.new/install/mac/8.5)"
Manually adding the path
In case the installer could not automatically add the path to Laravel's Herd-lite tool, we need to add the path manually.
Create (or open an existing) .zshrc configuration file:
nano ~/.zshrc
Paste the following text into your .zshrc configuration file:
export PATH="/Users/your_username/.config/herd-lite/bin:$PATH"
This text adds the path to the Laravel Herd-lite utility.
Important: Replace your_username with your actual username on your macOS machine.
Save the file by pressing Ctrl + O, and press Enter. Exit the text editor by pressing Ctrl + X.
Restart the Terminal app; this step is important, please do not skip it.
Installing Node.js
Installing Node.js is optional, but highly recommended if you plan to build and compile CSS and JavaScript assets in your Laravel application.
Install the Node Version Manager (nvm)
curl -o- https://raw.githubusercontent.com/nvm-sh/nvm/v0.39.5/install.sh | bash
Restart the Terminal app. Install the latest (long term support) Node.js version using the previously installed Node Version Manager (nvm):
nvm install --lts
Restart the Terminal app to update your paths.
Creating a Laravel project
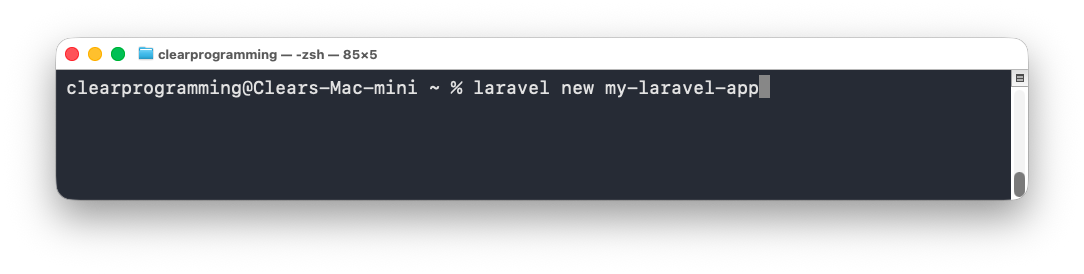
To create a new Laravel project, execute the following command in the Terminal:
laravel new my-laravel-app
This command creates a new Laravel project with all the dependencies and places it inside a newly-created my-laravel-app/ folder.
Note: On macOS, the above command might trigger the installation of command-line utilities with the following window:
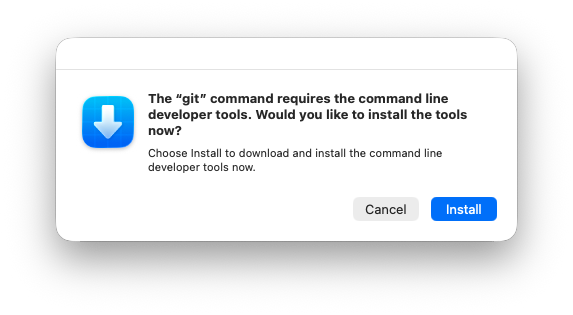
You do not have to install these tools for now, and you can click Cancel.
In the window that asks: "Do you want to use a starter kit?", choose No and press Enter.
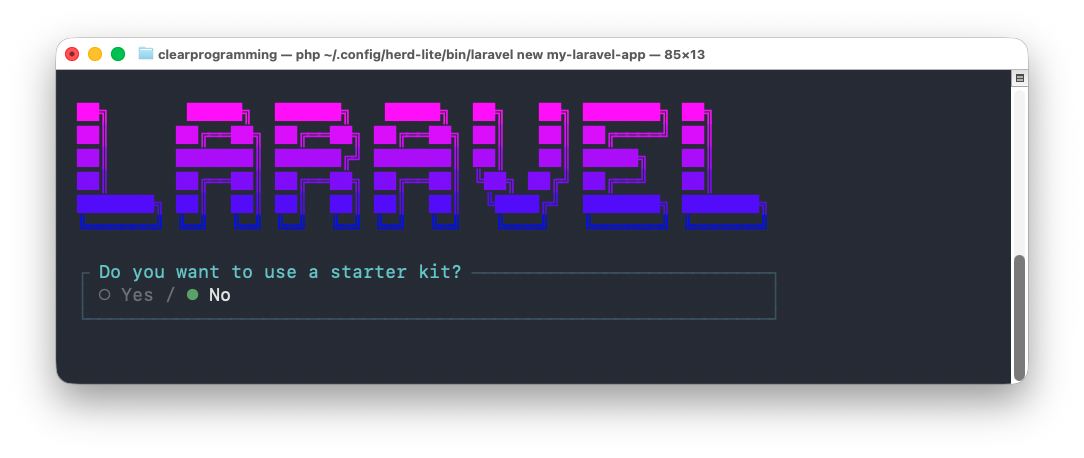
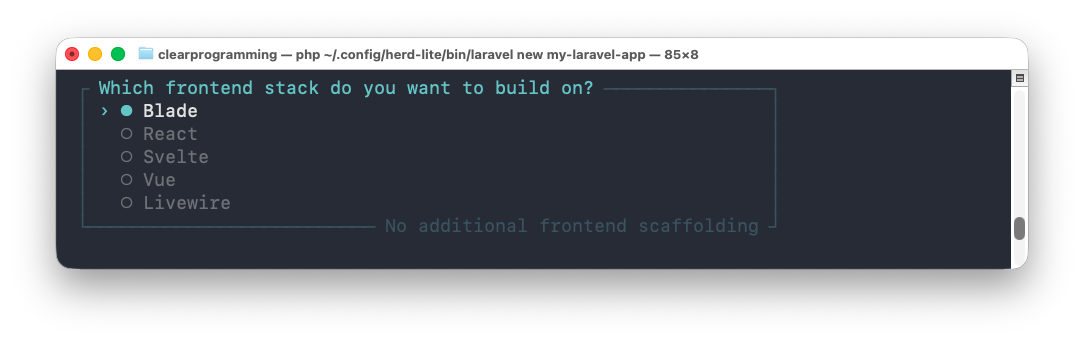
In the window that asks: "Which frontend stack do you want to build on?", choose Blade and press Enter.
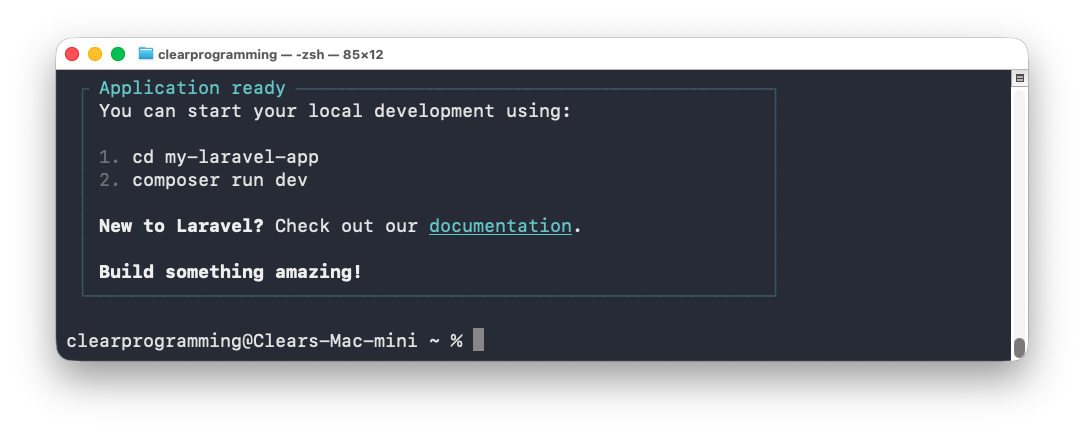
Our Laravel application, along with all its dependencies, has been created and placed inside the my-laravel-app/ folder. If the application was created successfully, you should see the following window:
Creating another Laravel project
In the future, to create another, separate Laravel project, in our Terminal, we write:
laravel new other-laravel-app
This command creates another, separate Laravel project and places it inside the other-laravel-app/ folder. Replace other-laravel-app/ name with the folder name of your choice. This allows you to have multiple separate Laravel projects on your machine.
Troubleshooting a stuck installer
During the creation of the Laravel project, if the Laravel installer gets stuck, try the following steps:
- Press Ctrl + C to interrupt the installer.
- Delete the Laravel project folder:
rm -rf my-laravel-app
- Re-run the installation script once again:
/bin/bash -c "$(curl -fsSL https://php.new/install/mac/8.5)"
-
Restart the Terminal application.
-
Create the Laravel project again:
laravel new my-laravel-app
Starting a local server
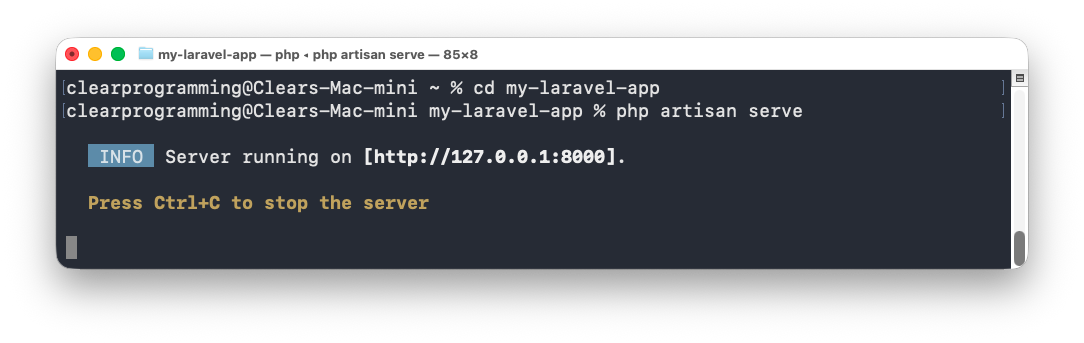
To start your local web server, navigate to the project's folder:
cd my-laravel-app
And start a simple local server using the following command:
php artisan serve
This command uses the Laravel's Artisan command-line tool to start a simple local development server with the address of http://127.0.0.1:8000. The same local server address can be accessed via the following URL: http://localhost:8000.
Open a web browser, enter the following URL: http://127.0.0.1:8000 and press Enter, and you should see the default Laravel welcome screen:
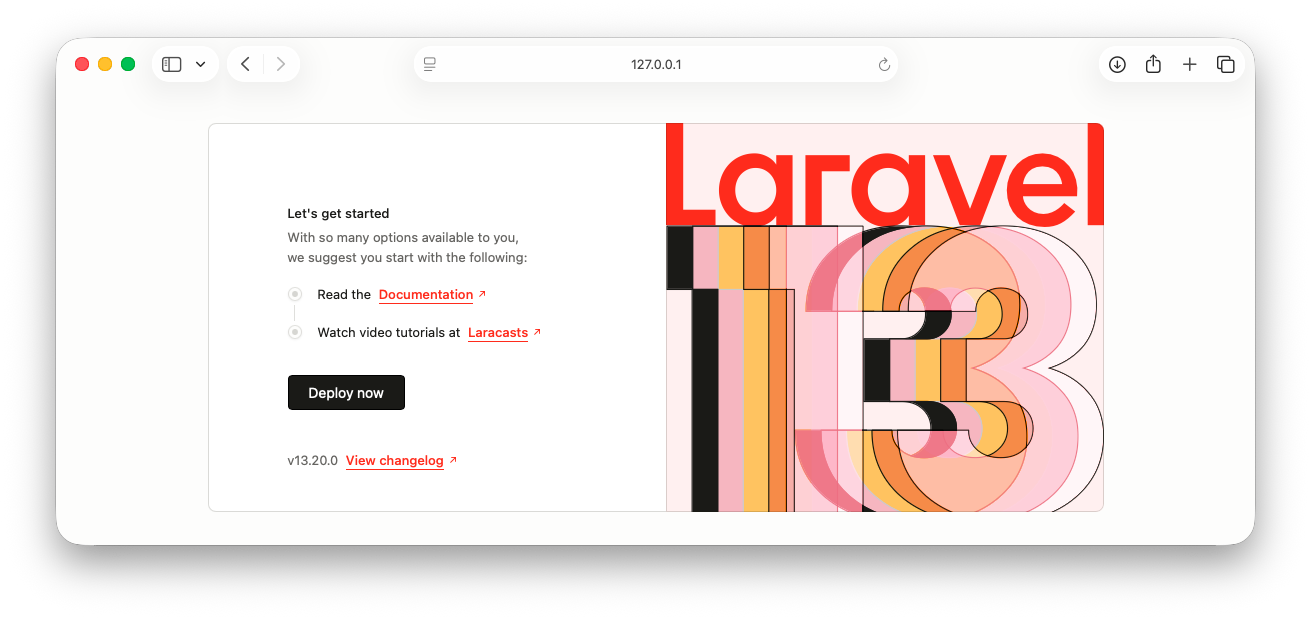
The entire application itself is stored inside the my-laravel-app/ folder and is accessible and running via the http://127.0.0.1:8000 local server address.
To stop the local server, in your Terminal app, press Ctrl + C.
If you previously opted to install the Node.js, you can start a local server for your Laravel app using the following command:
composer run dev
This command will also start the local server with the http://127.0.0.1:8000 address, and the so-called Vite server, which allows you to compile and build CSS and JavaScript assets for your Laravel application.
Summary
In this tutorial, we learned the following:
- Install the Laravel installer, the latest 13.x Laravel framework, and prerequisites (PHP and Composer) on macOS.
- Install the optional Node.js framework.
- Create and set up a new Laravel project.
- Start a local server and access the Laravel application in a browser.


