Basic Routing in Laravel
Our website / web application can have one or more routes, one or more paths. We can define routes and responses to these routes in a web.php file.
Defining a single route
Our live website can have a base route/path similar to:
https://www.example.comThe https://www.example.com URL represents the address of our website on the web.
While developing our Laravel app on a local development computer, the above address is represented by a local address. Depending on how we set up the local server, the local address can be one of the following:
http://127.0.0.1:8000or:
http://localhost:8000or:
http://localhostFor now, we will assume that the http://127.0.0.1:8000 address is our local index address. This route is also referred to as a base route, base URL, an index route, or an index page.
When we access this address in a browser, we are sending a GET HTTP request for this path/resource to our web server. When the web server receives this request, it executes some internal code and sends a response. The response usually contains a text or an HTML code which is then rendered and displayed in our browser.
Defining a route and returning a simple string
We can define an index route in our web.php file. We use the Route::get() function to define a route and an action to be executed for this route. The complete source code of our web.php file is:
<?php

use Illuminate\Support\Facades\Route; // import the Route facade

Route::get('/', function () { // define a route
    return "This is the index page."; // and return a string
});
The Route::get() function accepts two parameters:
- The path to the route.
- An action (a callable, a code, a closure).
The path, in this case, is the base route, represented by the '/' parameter.
The action is the code to be executed. In our case, it is a closure (an anonymous function) that returns a string with a value of "This is the index page.". This string becomes a part of the web server response.
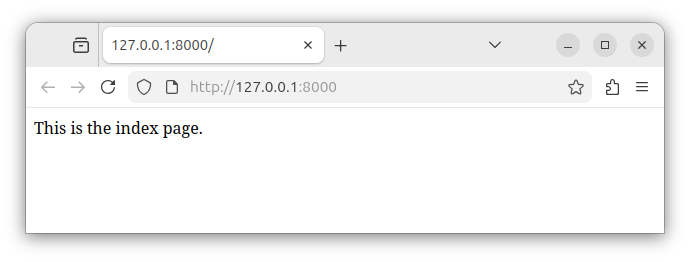
In summary, we send a GET request for a base route to the server, the server then executes the code inside the Route::get() function and sends a response containing the "This is an index page" string. This string/text is then displayed in our browser:
Defining a route and returning a view
Instead of returning a simple string, we can return a view containing some rendered HTML code. First, we create a view in the terminal:
php artisan make:view indexpageNote: you can create a view with another name, such as index, mypage, and similar.
This command creates an indexpage.blade.php template file and places it inside the resources/views folder. Template files are used to store HTML code that will be used to generate the final, compiled HTML output. We open the newly created indexpage.blade.php file and paste the following simple HTML code:
<!DOCTYPE html>
<html lang="en">
<head>
    <meta charset="UTF-8">
    <meta name="viewport" content="width=device-width, initial-scale=1.0">
    <title>Document</title>
</head>
<body>
    <h1>The index page</h1>
    <p>This is the HTML code for the index page/route.</p>
</body>
</html>
Next, we open the web.php and paste the following code, replacing any existing code:
<?php

use Illuminate\Support\Facades\Route; // import the Route facade

Route::get('/', function () { // define an index route
    return view('indexpage'); // and return a view for this route
});
This code defines a base route '/' and returns a view() helper function to this route. The view() function accepts the template name, without the .blade.php part. This function is used to compile and render the HTML code stored in our template file.
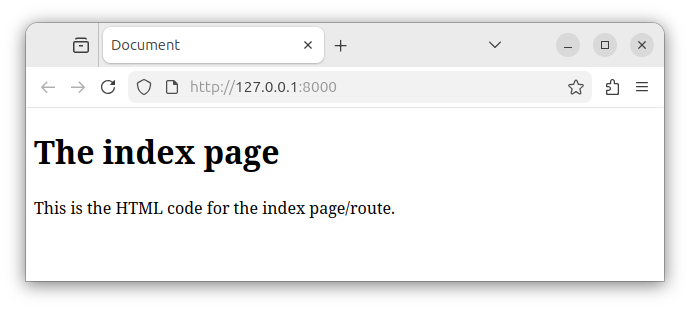
If we access the route in a browser, we see the rendered HTML page instead of a simple string:
Defining multiple routes
Our web application (website) can also have multiple routes/pages. For example, it can have an index page, an about page, and a contact page that might look like the following:
https://www.example.com/
https://www.example.com/about
https://www.example.com/contact
On our local server, these addresses are represented as:
http://127.0.0.1:8000
http://127.0.0.1:8000/about
http://127.0.0.1:8000/contact
Defining multiple routes and returning strings
In our web.php file we define multiple routes using multiple Route::get() function calls. The content of our web.php file is:
<?php

use Illuminate\Support\Facades\Route; // import the Route facade

Route::get('/', function () { // define an index route
    return "This is the index page."; // and return a string for this route
});

Route::get('/about', function () { // define an /about route
    return "This is the about page."; // and return a string for this route
});

Route::get('/contact', function () { // define a /contact route
    return "This is the contact page."; // and return a string for this route
});
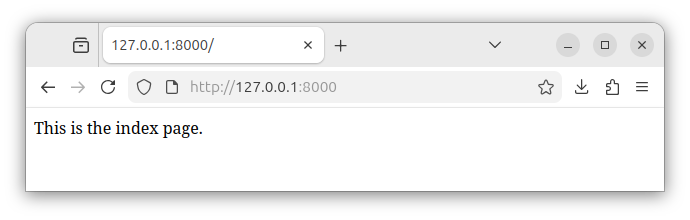
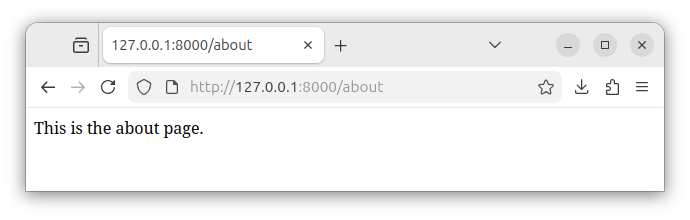
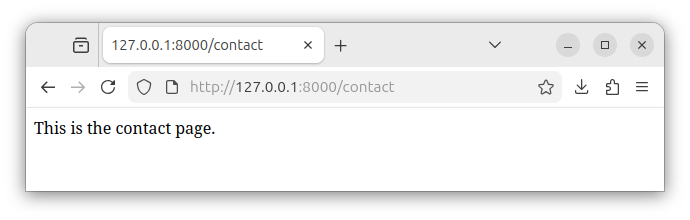
The above code defines multiple possible routes for our web app/website and returns a different string for each route. If we access all three routes in our browser, we will see three different string outputs:
The base (index) route '/':
The '/about' route:
The '/contact' route:
Defining multiple routes and returning views
To return a different view/template file for each route, we would create three different template files. We create an index template (view) in a terminal:
php artisan make:view myindexWe open the myindex.blade.php file and paste the following HTML code:
<!DOCTYPE html>
<html lang="en">
<head>
    <meta charset="UTF-8">
    <meta name="viewport" content="width=device-width, initial-scale=1.0">
    <title>Document</title>
</head>
<body>
    <h1>The index page</h1>
    <p>This is the HTML code for the index page/route.</p>
</body>
</html>
Then, we create a template file for the /about route. In the terminal, we execute the following command:
php artisan make:view aboutThis command creates the about.blade.php template file and places it inside the resources/views folder. We open the newly-created about.blade.php template file and paste the following HTML code:
<!DOCTYPE html>
<html lang="en">
<head>
    <meta charset="UTF-8">
    <meta name="viewport" content="width=device-width, initial-scale=1.0">
    <title>Document</title>
</head>
<body>
    <h1>The about page</h1>
    <p>This is the HTML code for the about page/route.</p>
</body>
</html>
Finally, we create a template file that will store the HTML code for the /contact route. We will name this file contact, but, you are at liberty of choosing your own template file name. In the terminal, we write:
php artisan make:view contactNext, we open the contact.blade.php template file and paste the following HTML code:
<!DOCTYPE html>
<html lang="en">
<head>
    <meta charset="UTF-8">
    <meta name="viewport" content="width=device-width, initial-scale=1.0">
    <title>Document</title>
</head>
<body>
    <h1>The contact page</h1>
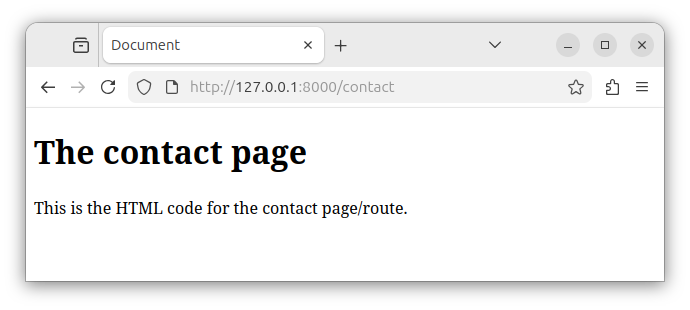
    <p>This is the HTML code for the contact page/route.</p>
</body>
</html>
In our web.php file we define multiple routes using multiple Route::get() function calls and return a different view for each route. The content of our web.php file is:
<?php

use Illuminate\Support\Facades\Route; // import the Route facade

Route::get('/', function () { // define an index route
    return view('myindex'); // and return a view for this route
});

Route::get('/about', function () { // define an /about route
    return view('about'); // and return a view for this route
});

Route::get('/contact', function () { // define a /contact route
    return view('contact'); // and return a view for this route
});
The above code defines multiple possible routes for our web app/website and returns a different view for each route. Each view contains a different HTML code. If we open all three addresses in our browser, we will see that a different view is displayed for each route.
The '/' index (base) route:
The '/about' route:

The '/contact' route:
Summary:
In this tutorial, we learned how to define one or more hard-coded paths and return different strings or views (compiled blade template files containing the HTML code) for each route. In our next tutorial, we will learn how to work with route parameters.


