Exercise - Validating the Form's Data
In this exercise, we will validate the data submitted through an HTML form in Laravel.
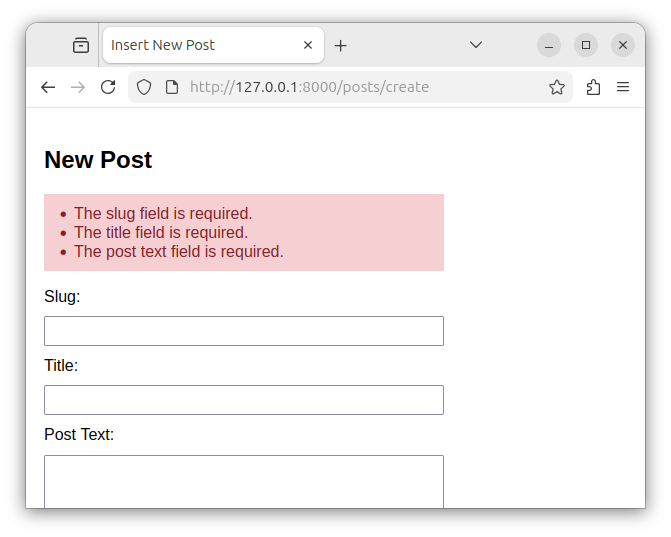
Exercise text
Validate the data submitted through an HTML form in a Laravel app.
- Create a template that displays an HTML form with the following fields:
slug- required, must be a string, has at least 3 characters. (Note: In our next exercise, we will make this field unique as well.)title- required, must be a string, has at least 3 characters.post_text- required, must be a string, has between 3 and 1000 characters.
- Use Laravel's
validate()method to validate the form's data/input on the server side. If the validation is successful, redirect the user to theposts/successroute. If the validation fails, display the validation errors above the form. - Create a controller class
PostControllerthat handles all the routes and performs the validation.
Summary
In summary, we need to:
- Define routes.
- Create templates.
- Create a controller.
- Validate the data.
Defining routes
Open the web.php file and paste the following code:
<?php

use App\Http\Controllers\PostController;
use Illuminate\Support\Facades\Route;

Route::get('/posts/create', [PostController::class, 'create'])->name('posts.create');
Route::post('/posts/create', [PostController::class, 'store'])->name('posts.store');
Route::get('/posts/success', [PostController::class, 'success'])->name('posts.success');
This code defines the following routes:
/posts/create- The GET route that displays the form./posts/create- The POST route that validates the data from the form./posts/success- The GET route that displays the Validation successful message.
All routes are named routes.
Creating views
The 'create' view
To create a Blade template named create, in the terminal, we write:
php artisan make:view create
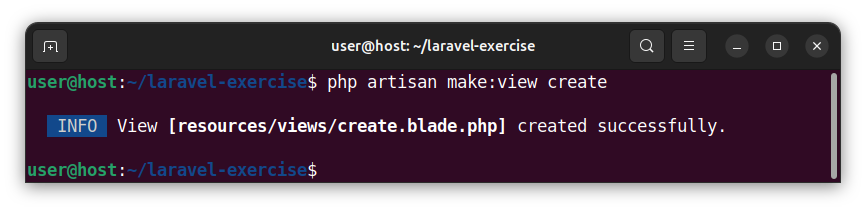
Open the create.blade.php file and paste the following HTML code:
<!DOCTYPE html>
<html lang="en">
<head>
  <meta charset="UTF-8">
  <title>Insert New Post</title>
  <style>
    body { font-family: Arial, sans-serif; padding: 10px; }
    form { max-width: 400px; display: flex; flex-direction: column; gap: 10px; }
    input, textarea, button { padding: 5px; }
    textarea { height: 150px; }
    button { margin-top: 5px; border: none; cursor: pointer; width: 100px; }
    .errors-list { max-width: 380px; background-color: #f6cfd2; color: #7f1f27; padding: 10px; }
    .errors-item { margin-left: 20px; }
  </style>
</head>
<body>
  <h2>New Post</h2>
  <!-- Display validation errors, if any -->
    @if ($errors->any())
        <ul class="errors-list">
            @foreach ($errors->all() as $error)
                <li class="errors-item">{{ $error }}</li>
            @endforeach
        </ul>
  @endif
  <form action="{{ route('posts.store') }}" method="POST">
    @csrf
    <label for="slug">Slug:</label>
    <input type="text" name="slug" value="{{ old('slug') }}">
    <label for="title">Title:</label>
    <input type="text" name="title" value="{{ old('title') }}">
    <label for="posttext">Post Text:</label>
    <textarea name="posttext">{{ old('posttext') }}</textarea>
    <button type="submit">Submit</button>
  </form>
</body>
</html>
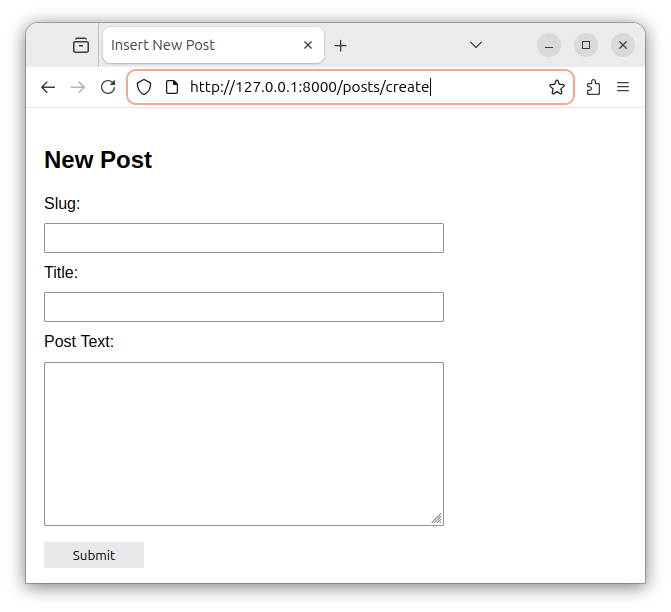
This page displays the form and validation errors, if any. The form displays several fields and submits the data to the posts.store named route through a POST request. The form's fields retain the previously entered values using the old('field_name') helper function wrapped inside the Blade echo directive {{ old('field_name') }}.
The 'success' view
Create a Blade template, named success using the following Artisan command in the terminal:
php artisan make:view success
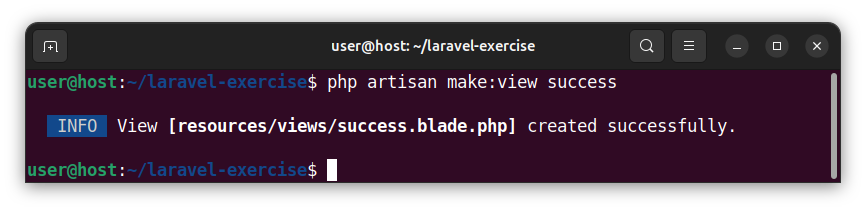
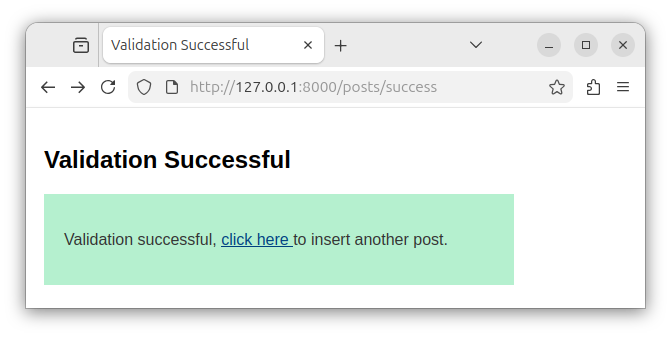
This template will simply display an informative message that the validation was successful. Open the success.blade.php file and paste the following HTML code:
<!DOCTYPE html>
<html lang="en">
<head>
  <meta charset="UTF-8">
  <title>Validation Successful</title>
  <style>
    body { font-family: Arial, sans-serif; padding: 10px; }
    .success { max-width: 430px; background-color: #b5f0cf; color: #333333; padding: 20px; }
    .success a { color: #004080; }
  </style>
</head>
<body>
  <h2>Validation Successful</h2>
  <div class="success">
    <p>Validation successful, <a href="{{ route('posts.create') }}">click here </a> to insert another post.</p>
  </div>
</body>
</html>
Creating a controller
Create a PostController controller class using the Artisan command in the terminal:
php artisan make:controller PostController
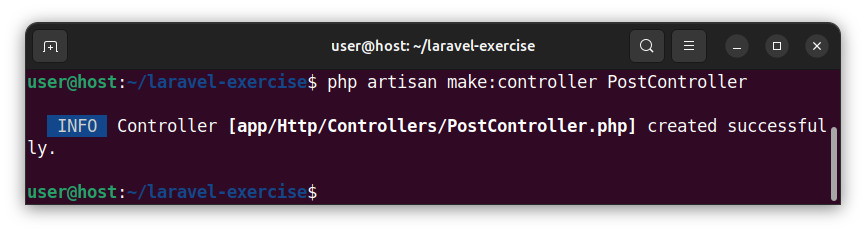
Open the PostController.php file and paste the following code:
<?php

namespace App\Http\Controllers;

use Illuminate\Http\Request;

class postController extends Controller
{
    public function create()
    {
        return view('create');
    }

    public function store(Request $request)
    {
        // use the validate() method to validate the data
        $validated = $request->validate([
            // validate the slug field against the 'required', 'string', 'min:3',
            // and the 'unique in the posts table' rules
            'slug' => 'required|string|min:3',
            // validate the title field against the 'required' 'string' and
            // 'minimum 3 characters in length' rules
            'title' => 'required|string|min:3',
            // validate the post_text field against the 'required', 'string',
            // 'min:3' and 'max 1000 characters' rules
            'post_text' => 'required|string|min:3|max:1000',
        ]);
        // if the validation is successful, redirect to the
        // 'posts.success` named route (the '/posts/success' route)
       return redirect()->route('posts.success');
    }

    public function success()
    {
        return view('success');
    }
}
Note: Currently, we do not yet have the posts table. If we had a posts table, we could add the unique:posts,slug validation rule that checks if a slug field value is unique in the posts table:
'slug' => 'required|string|min:3|unique:posts,slug',
This code defines a PostController controller class with the following member functions:
create()- displays a form located inside thecreateBlade template.store()- validates the form's data and redirects accordingly.success()- returns a view that displays the success page.
To display a form that inserts a new post, we access the 127.0.0.1:8000/posts/create route:
When we submit the data, and the validation is successful, we are redirected to the /posts/success route:
Note: Usually, after the successful validation, the record gets inserted into a table and we get redirected back to the route that displays all the records.
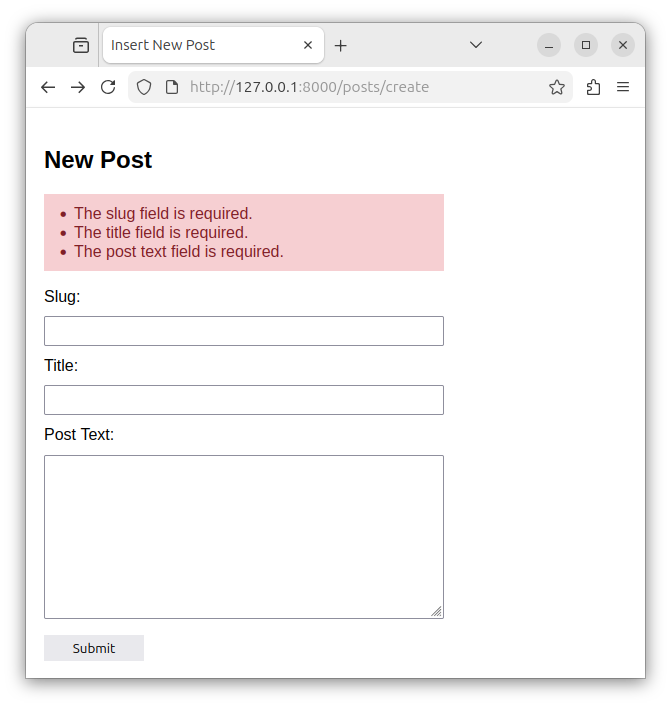
If the validation fails, we are redirected back to the route that displays a form, plus all the validations errors.
Summary
In this exercise we learned how to validate the form's data that gets submitted through a POST request. The data is validated on the server side, using a controller's store() member function and a built-in validate() method.
- We apply one or more validation rules to each field.
- If the validation is not successful, we automatically get redirected back to origin route that displays a form.
- If the validation is successful, any code that follows gets executed, and we get redirected to a designated route.


