Inserting a Record in Laravel
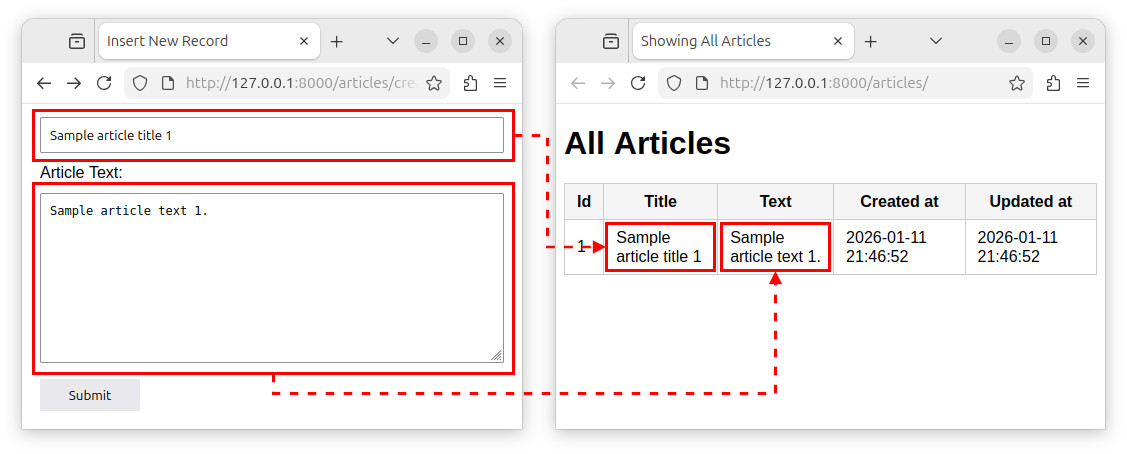
In this tutorial, we will learn how to insert a record into a table using a Model inside a controller's method. We will start with an empty project and create everything from tables to views.
Creating a table
In the terminal, create a migration that creates an articles table:
php artisan make:migration create_articles_table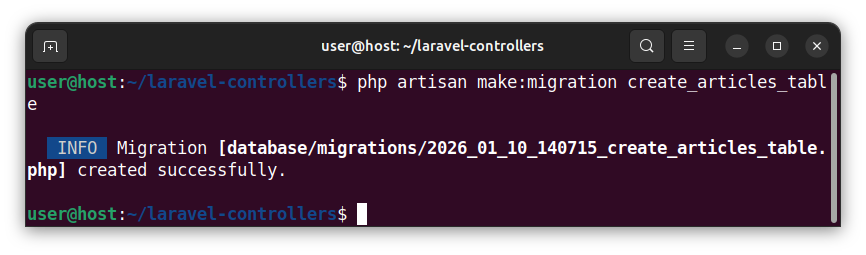
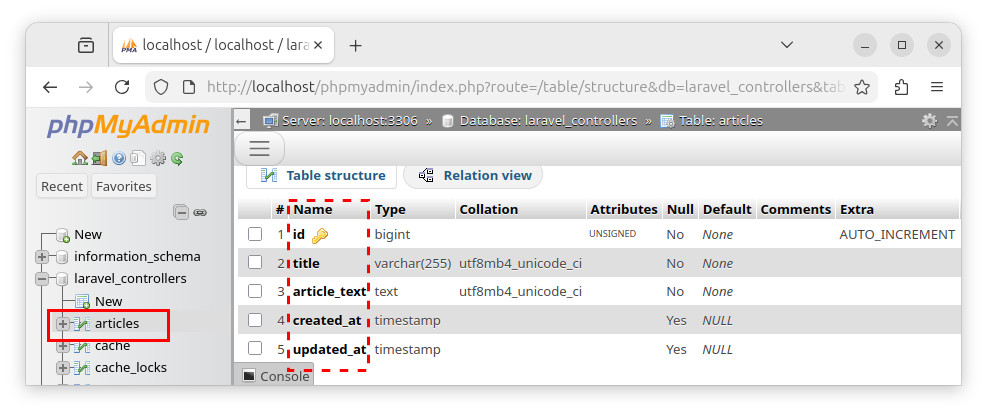
Open the newly created file that ends with the _create_articles_table.php. Add title and article_text columns to the existing code, so that the entire Schema::create() function now looks like:
Schema::create('articles', function (Blueprint $table) {
    $table->id();
    $table->string('title'); // add the title column
    $table->text('article_text'); // add the article_text column
    $table->timestamps();
});
Running the migration
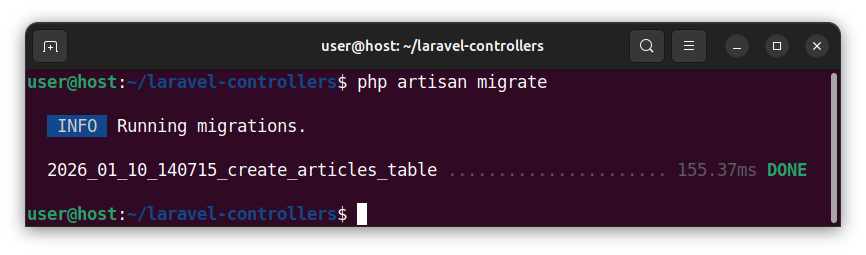
To execute this code and create a table, we run a migration in a terminal window:
php artisan migrate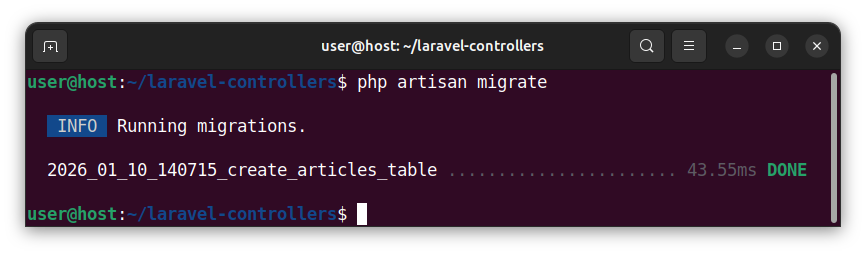
This migration modifies the database's schema and inserts the articles table into our database.
Creating a model
To create a model that represents the articles table, in the terminal, we write:
php artisan make:model ArticleThis command creates the app/Models/Article.php file that contains the Article class/model. The Article model represents the articles table.
The Article model is automatically associated with the articles table, so no extra work is required in its source code for now.
Creating routes
We will create several routes:
- /articles – for displaying all the records (the GET request)
- /articles – for inserting/storing a record (the POST request)
- /articles/create – for displaying a form (the GET request)
Open the web.php file and paste the following code:
<?php

use App\Http\Controllers\ArticleController;
use Illuminate\Support\Facades\Route;

Route::get('/articles', [ArticleController::class, 'index']);
Route::post('/articles', [ArticleController::class, 'store']);
Route::get('/articles/create', [ArticleController::class, 'create']);
Explanation of the web.php file's code
The above code defines the several routes and uses a different ArticleController controller/class method for each route.
The following line includes the ArticleController class in the web.php file.
use App\Http\Controllers\ArticleController;Note: The ArticleController controller will be created in the next paragraph.
The following line defines a GET '/articles' route and uses the controller's index function/method to handle this route. The GET '/articles' route will be used to display all the records from the articles table.
Route::get('/articles', [ArticleController::class, 'index']);Then, we define a POST '/articles' route and use the controller's store function/method to handle this route. The POST '/articles' route will be used to insert a record into the articles table.
Route::post('/articles', [ArticleController::class, 'store']);Finally, we define the GET '/articles/create' route and use the controller's create method to handle this route. This route will be used for displaying the form that inserts the records.
Route::get('/articles/create', [ArticleController::class, 'create']);Creating a controller
Let us now create the ArticleController controller for the above routes. In the shell, we write:
php artisan make:controller ArticleController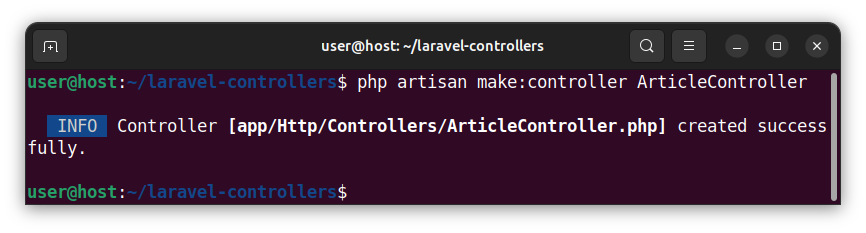
Open the newly created app/Http/Controllers/ArticleController.php file and paste the following code:
<?php

namespace App\Http\Controllers;

use App\Models\Article;
use Illuminate\Http\Request;

class ArticleController extends Controller
{
    // display all the records
    public function index()
    {
        $myArticles = Article::all();
        return view('index', ['myArticles' => $myArticles]);
    }

    // show the form
    public function create()
    {
        return view('create');
    }

    // insert/store a new record
    public function store(Request $request)
    {
        // validate the input
        $validated = $request->validate([
            'title' => 'required|min:3',
            'article_text' => 'required|min:10'
        ]);
        // if the validation is successful, insert the record
        $article = new Article;
        $article->title = $request->title;
        $article->article_text = $request->article_text;
        $article->save();

        // and redirect to the /articles page
        return redirect('/articles');
    }
}
Explanation of the ArticleController's code
This line includes the Article model class into our controller file:
use App\Models\Article;The index method is used for handling the '/articles' GET route. It queries and then displays all the records from the articles table using an index view.
// display all the records
public function index()
{
    $myArticles = Article::all(); // get all the records from the articles table
    return view('index', ['myArticles' => $myArticles]); // pass them to the view and display a view
}
The create method displays an HTML form when the '/articles/create' route is accessed. This method simply returns a view that displays an HTML form.
// show the form
public function create()
{
    return view('create');
}
The store method is used to handle the POST version of the '/articles' route.
// insert/store a new record
public function store(Request $request)
{
    // validate the input
    $validated = $request->validate([
        'title' => 'required|min:3',
        'article_text' => 'required|min:10'
    ]);
    // if the validation is successful, insert the record:
    $article = new Article; // create a model instance
    $article->title = $request->title; // set the title attribute/column
    $article->article_text = $request->article_text; // set the article_text attribute/column
    $article->save(); // store/insert the record

    // and redirect to the /articles page
    return redirect('/articles');
}
To insert the record, first, we:
- Validate the fields.
- Create a new instance of the
Articlemodel and set the column values for this instance. - And finally insert the record by calling the
save()function on our instance.
After inserting the record, we redirect the user to the '/articles' page.
Note: The values for the created_at and updated_at fields are automatically inserted.
Creating views
Let us create two different views, index for the '/articles' route and create for the '/articles/create' route.
The 'index' view
To create the index view, in the terminal we write:
php artisan make:view index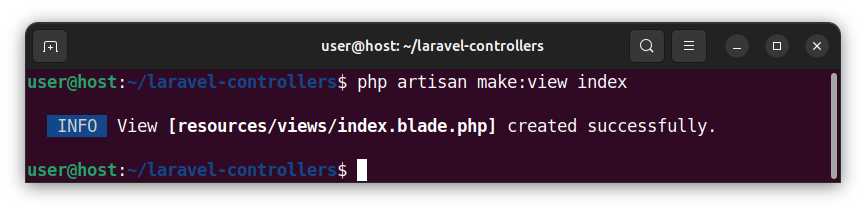
Open the newly created resources/Views/index.blade.php file and paste the following HTML code:
<!DOCTYPE html>
<html lang="en">
<head>
    <meta charset="UTF-8">
    <title>Showing All Articles</title>
    <style>
        body { font-family: Arial; }
        table { border-collapse: collapse; }
        th, td { border: 1px solid #ccc; padding: 8px 12px; }
        th { background: #f5f5f5; }
    </style>
</head>
<body>
    <h1>All Articles</h1>

    <table>
        <thead>
            <tr>
                <th>Id</th>
                <th>Title</th>
                <th>Text</th>
                <th>Created at</th>
                <th>Updated at</th>
            </tr>
        </thead>
        <tbody>
            @foreach($myArticles as $article)
                <tr>
                    <td>{{ $article->id }}</td>
                    <td>{{ $article->title }}</td>
                    <td>{{ $article->article_text }}</td>
                    <td>{{ $article->created_at }}</td>
                    <td>{{ $article->updated_at }}</td>
                </tr>
            @endforeach
        </tbody>
    </table>
</body>
</html>
This code displays all the records from the articles table. The records were passed using the $myArticles collection/variable. Using the @foreach directive, we iterate over a collection and display all the records.
The 'create' view
To create a view that displays a form for the /articles/create route, in the terminal, we execute:
php artisan make:view create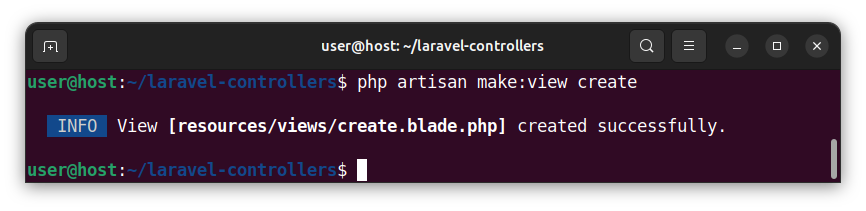
Open the newly created resources/Views/create.blade.php file and paste the following code:
<!DOCTYPE html>
<html lang="en">

<head>
  <meta charset="UTF-8">
  <title>Insert New Record</title>
  <style>
    body { font-family: Arial, sans-serif; padding: 10px; }
    form { max-width: 500px; display: flex; flex-direction: column; gap: 10px; }
    input, textarea, button { padding: 8px; }
    textarea { height: 150px; }
    button { margin-top: 5px; border: none; cursor: pointer; width: 100px; }
  </style>
</head>

<body>
  <h2>Insert New Article</h2>
  <form action="/articles" method="POST">
    @csrf
    <label for="title">Title:</label>
    <input type="text" name="title">
    <label for="article_text">Article Text:</label>
    <textarea name="article_text"></textarea>
    <button type="submit">Submit</button>
  </form>
</body>

</html>
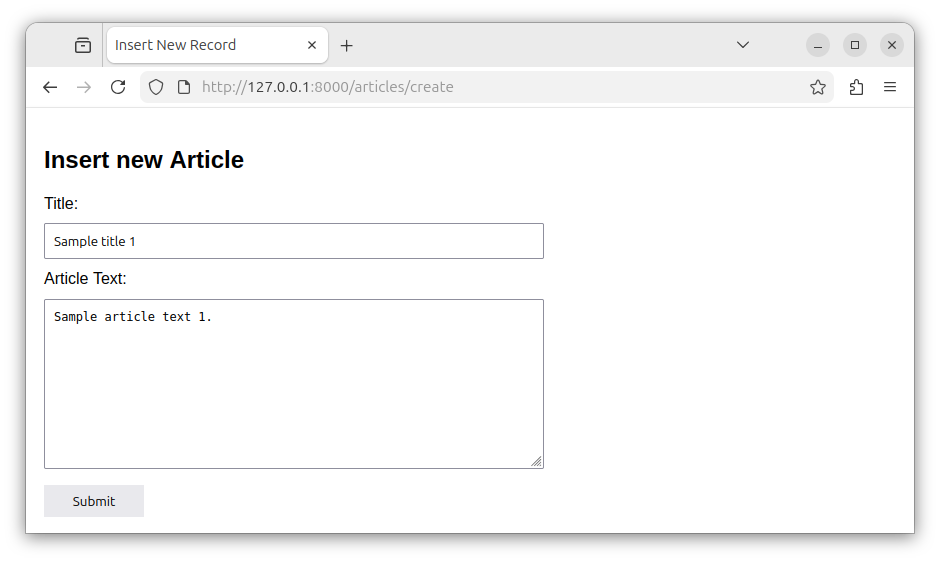
This code displays an HTML page containing a form. The form will be used for inserting records into our articles table.
Inserting and displaying records in a browser
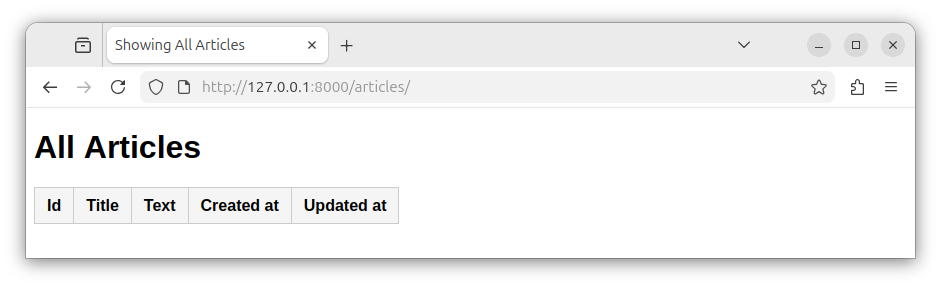
Currently, our articles table is empty. If we access the /articles route via http://127.0.0.1:8000/articles address, we see an empty table:
Let us now insert a new record into our table. Open the http://127.0.0.1:8000/articles/create route, fill in the fields and press the Submit button:
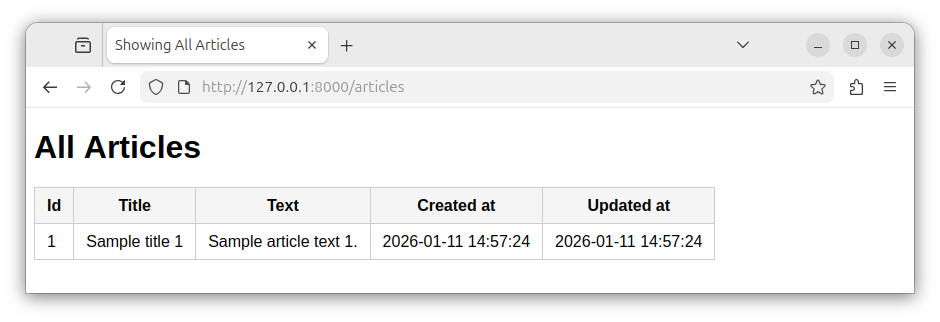
When we submit the form, the form sends a POST request to the /articles page. This POST route invokes the controller's store method, which inserts the record into a table and redirects the user to the /articles page. Now, the /articles page displays the newly inserted record:
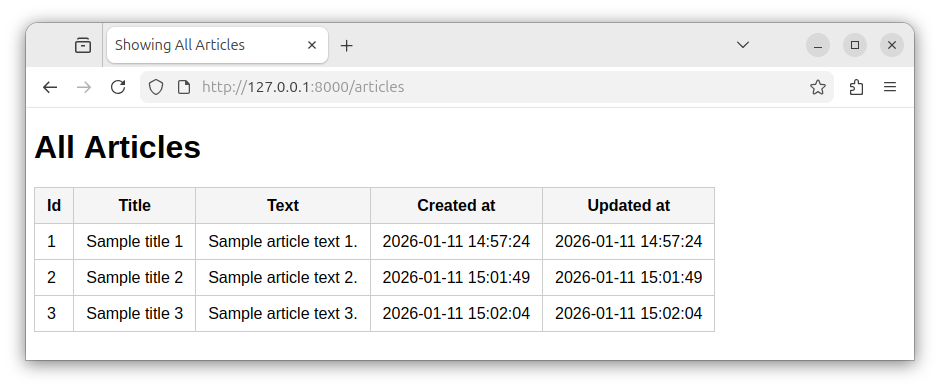
If we repeat this process multiple times, the /articles route will display all the records:
Alternative ways of inserting a record
Alternatively, you can insert a record by using the model's create() function:
$article = Article::create([
    'title' => 'Sample title value',
    'article_text' => 'Sample article text value.'
]);
If you opt to use the create() method, you must make the fields fillable (mass assignable) in your model class, by setting the $protected property. Open the Article.php file and make the following modification:
class Article extends Model
{
    protected $fillable = [
        'title',
        'article_text',
    ];
}
Note: If you opt to use the $myRecord = new Model; ... $myRecord->save(); approach, you do not need to set the $fillable property.
Summary
In this tutorial, we learned how to insert a record into a table in Laravel. In our next tutorial, we will learn how to update the record.


